Drawing by itself is a pleasurable and profitable form of art, but learning to draw well can also lead to better work in other mediums. Having an accurate drawing is especially important as the basis of a realistic painting, among other things.
Improving your drawing skills will boost your artwork to a new level. Drawing helps you understand shading, value, and shape, and you can translate those concepts into other art forms.
Drawing helps keep your mind sharp because it forces you to focus on the world around you, which is why so many people use it as a form of meditation or mindfulness activity.
Below are some simple tips to help you improve your drawing skills. I’ve added a few extra, so there are more than 10, but more is better, isn’t it? 😊 They are simple but important steps to help you enhance your drawing.
I have included a printable drawing prompt list at the end of this post. Print it off and use it for inspiration when you are stuck.
This post may contain affiliate links. If you click a link and buy, I may receive a small commission. Please see my full privacy policy for details.
Drawing Tips
1. Practice
The first thing any professional artist will tell you about any form of art is that practice is the most important element of learning.
Practicing your drawing consistently is the number one thing that will improve your skill.
Draw something every day. It doesn’t have to be a masterpiece; draw whatever comes to mind or whatever you see.
You can draw repetitive patterns, doodles, interlocking circles, pictures from magazines, or anything that keeps your pencil moving. Don’t start with something really complicated. Keep it simple.
Practicing will hone your eye for detail, help you develop good habits, and train you on how to draw something correctly without thinking about it too much.
2. Trace
Tracing! 😱
Many artists will frown on tracing and see it as cheating, but tracing can be a great way for beginner artists to learn how the shapes and lines all interact to form a picture.
Tracing is also an easy way to help you to understand perspective.
For example, if you are drawing several houses on a street, try placing a sheet of tracing paper over your reference photo and trace the rooftops.
When you hold your tracing paper up, you can see the angle of the rooftops more clearly.

Often, when we start drawing, we only see the object as a whole and miss the subtle angles and direction changes of what we think are straight lines.
Print off a picture of something you would like to draw, a dog, for example, and then trace over it numerous times.
This helps to build muscle memory for curves and angles on the subject you want to draw and will help to improve your artistic skills quickly.
Also, you can use tracing paper to trace the subject and then transfer it to drawing paper. This will give you a more accurate line drawing to start with. Eventually, you will be able to draw most things without tracing.
3. Use Reference Photos
We often draw whatever is in our imagination, but sometimes, we have a specific thing we want to draw.
It’s hard to get an accurate drawing of a specific object if we aren’t looking at it.
Using reference photos to see angles and shadows will make rendering the drawing easier.
If you intend to exhibit or sell your drawings, be careful only to use reference photos that are not copyrighted.
Just taking any picture you find on Google or Pinterest without checking to see if it is free to use can get you sued. Read my post on Reference Photos to learn more and find several good sites to get free photos.
4. Paper
The quality of paper you use can make a big difference in how your drawing turns out. Regular printer paper is rough and will not give you a smooth blend of graphite for shading.
It is also not archival and will make your drawing fade rather quickly.
It is fine to start off learning to make marks on printer paper, but good quality paper designed for drawing will give you a more satisfying result.
A good paper with enough tooth to hold the layers of charcoal or graphite but smooth enough to allow blending is the best.
My favorite paper to use is bristol vellum, but you may prefer a different paper. It will depend on your drawing style.
Check out my post about the best types of paper for drawing. Most art supply stores carry drawing paper and sketchbooks.
Try out several different ones to find your preference for your drawing style.
5. Pencils
Using the right pencils for drawing is also important. The regular HB pencil you used in school will not give you the drawing results you want.
Get a few good “drawing” pencils or even a small beginner’s set. There are a lot of very good drawing pencils on the market, ranging from very inexpensive to “you’ve got to be kidding me!”.
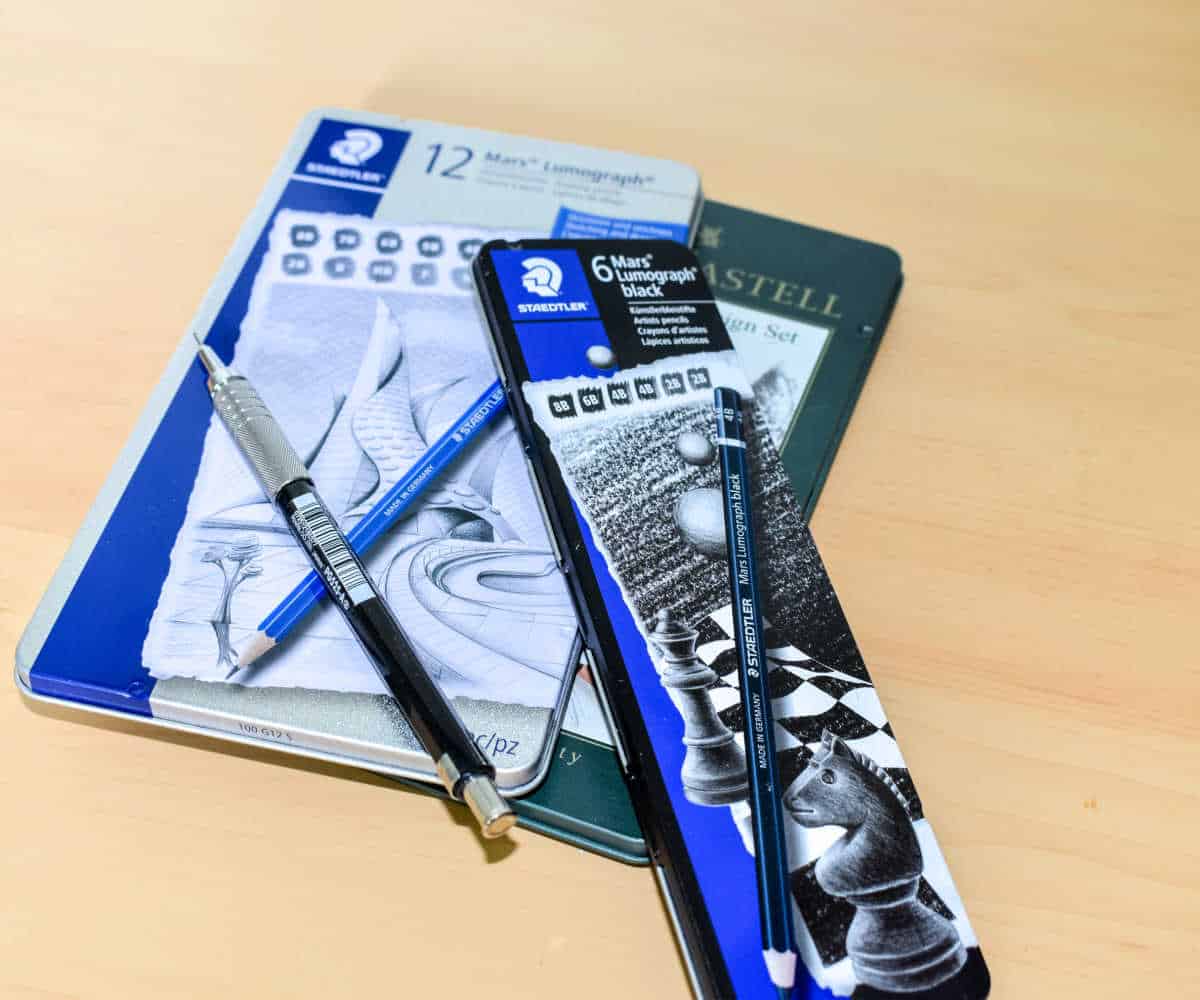
I have tried many brands but keep returning to Mars Luminograph. They have a great range of pencil grades and give me smooth blends.
They also have a Mars Luminograh Black line that can help you get the darkest darks.
For more information on drawing pencils, see my post on drawing pencils.
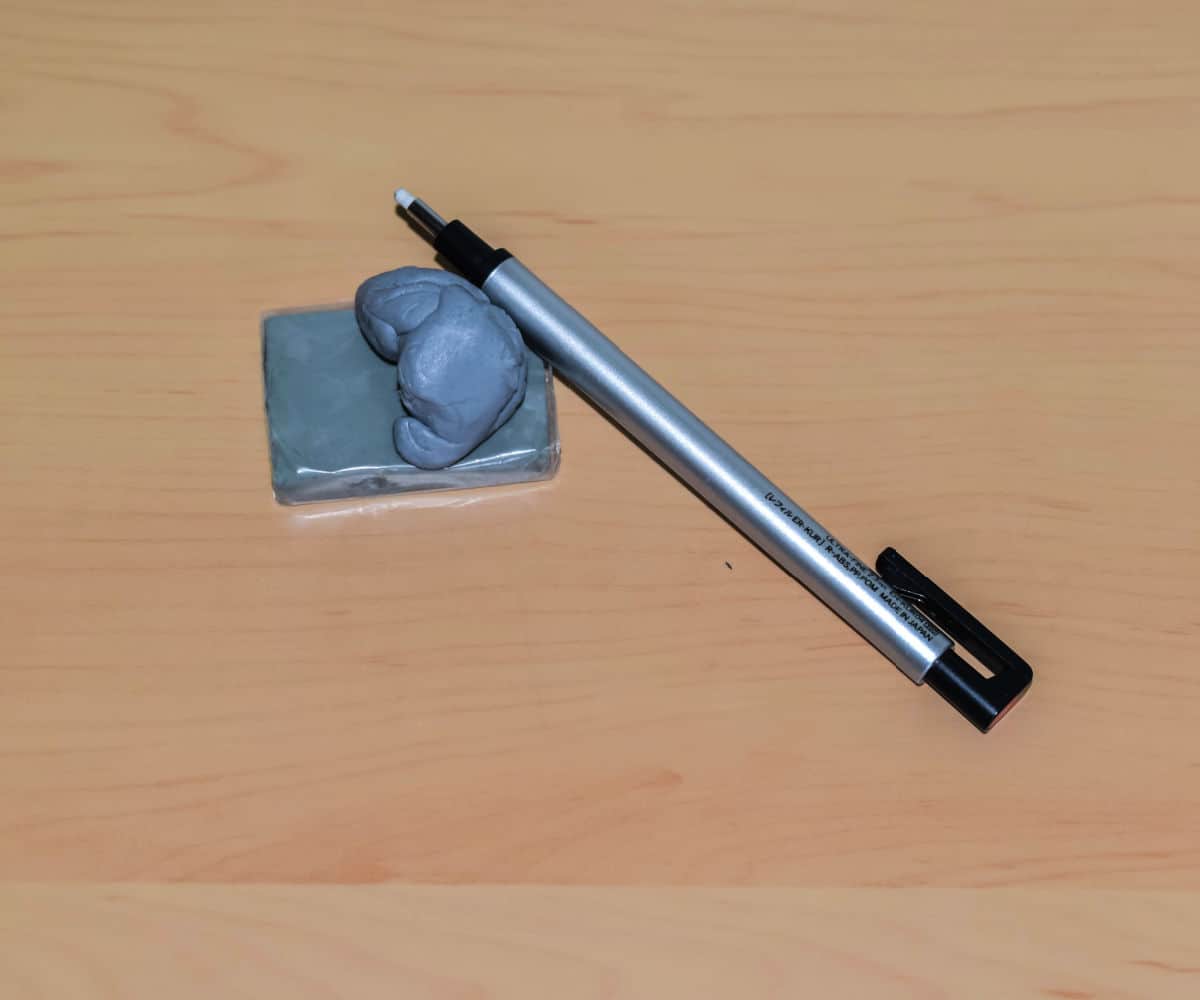
6. Erasers
Erasers are not only used for erasing mistakes, they can also be used in the drawing as well.
A good kneadable eraser, which kind of looks like kids’ playdough, can erase large areas or take a little of the graphite or charcoal away to give you light shading.
You can twist the kneadable eraser into a point to get into tiny areas or from it into a knob and use it to get texture in a drawing.
Cover an area with graphite or charcoal and then use the kneaded eraser formed into a ball to lift large areas to get a textured effect for things like stone pathways or brick buildings.
A small pencil-like Tombo Mono eraser is perfect for erasing small areas but it also works great for drawing in highlights in hair or whiskers on cats and other animals.
7. Values
Value refers to the darkness or lightness of an object. Learning to see the values in an object will greatly improve your drawings and give them depth and movement.
An apple, for example, would not have the same value on the top, near the light source, as it would at the bottom.
Study different objects in different light sources to see the gradual changes in value. This will help you to determine where the shadows and highlights should be.
To learn more about value, you can read my post on Value.
I use this grey scale and value finder to help determine the right value.
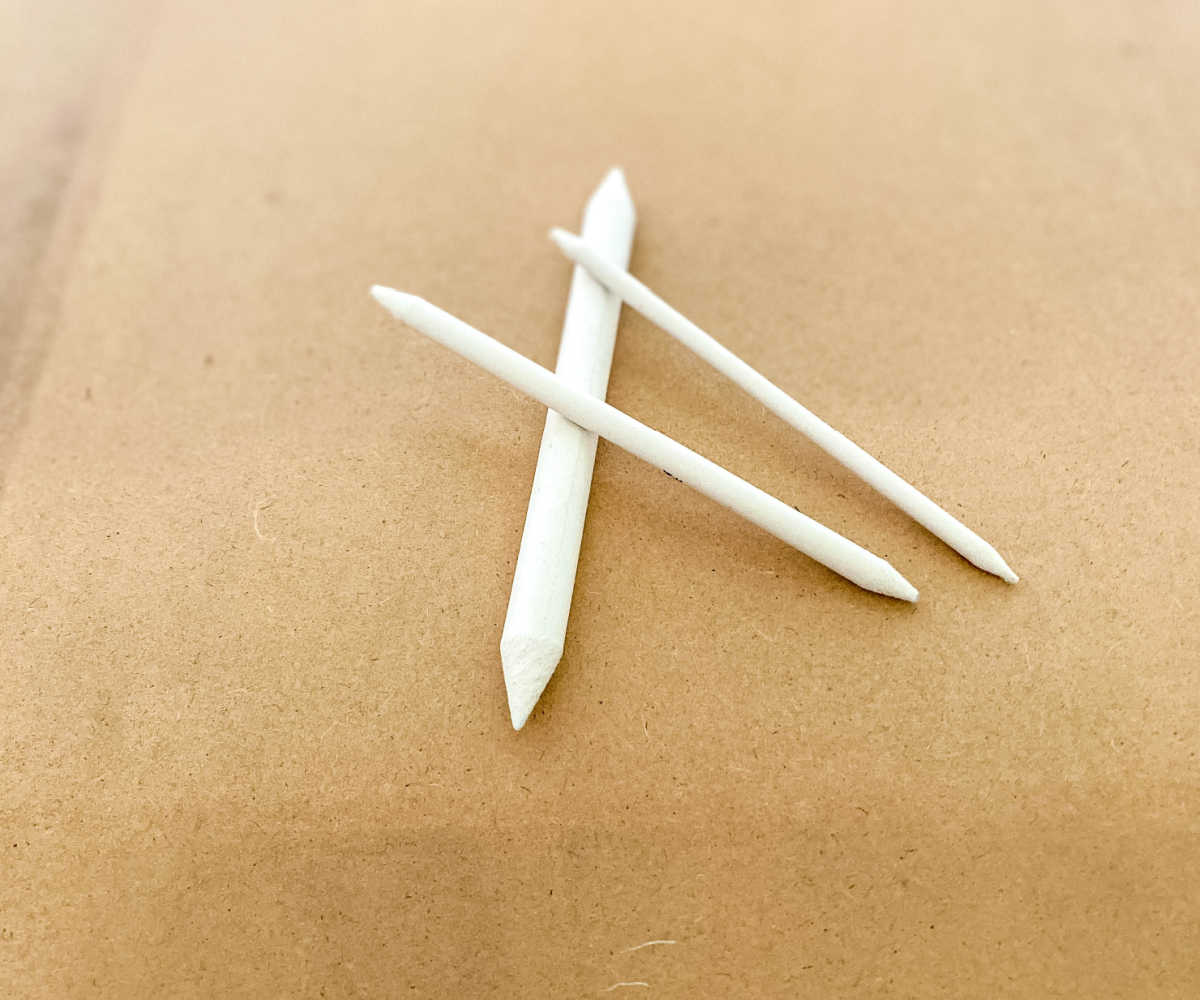
8. Blending
Not everything in a drawing needs to be blended, but when you want a smooth, blended surface, such as when drawing a portrait, there are a few tools you can use.
Blending stumps are tightly rolled paper stumps that come in various sizes and thicknesses. They are used to blend graphite, charcoal, or pastel to smooth out pencil marks and add shading.
An ordinary tissue also works well to blend large areas such as a face. Make sure you use tissues that don’t contain any lotion.
Cotton swabs will also work to get into tight areas.
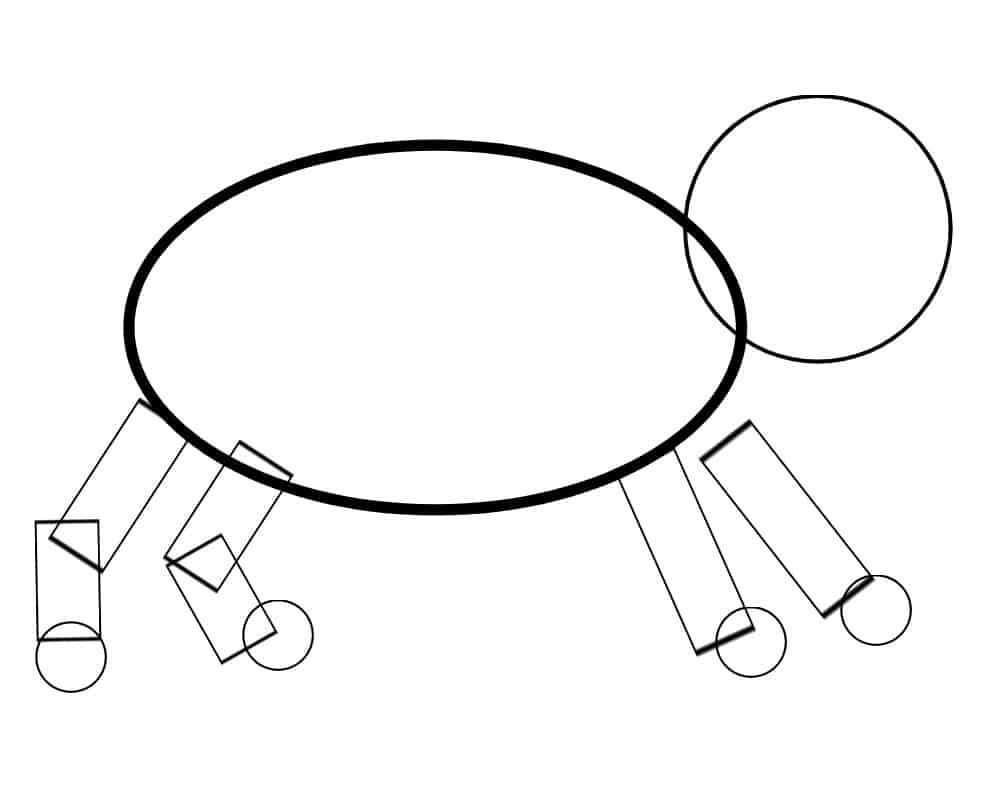
9. Shapes
Focus on drawing shapes at the beginning of a drawing rather than outlines.
For example, if you are drawing a dog, draw a circle for the head, an oval for the body, and rectangles for the legs. Then, go from there, connecting the shapes and adding details.
Keep your initial shapes light so you can erase unnecessary lines as you go.

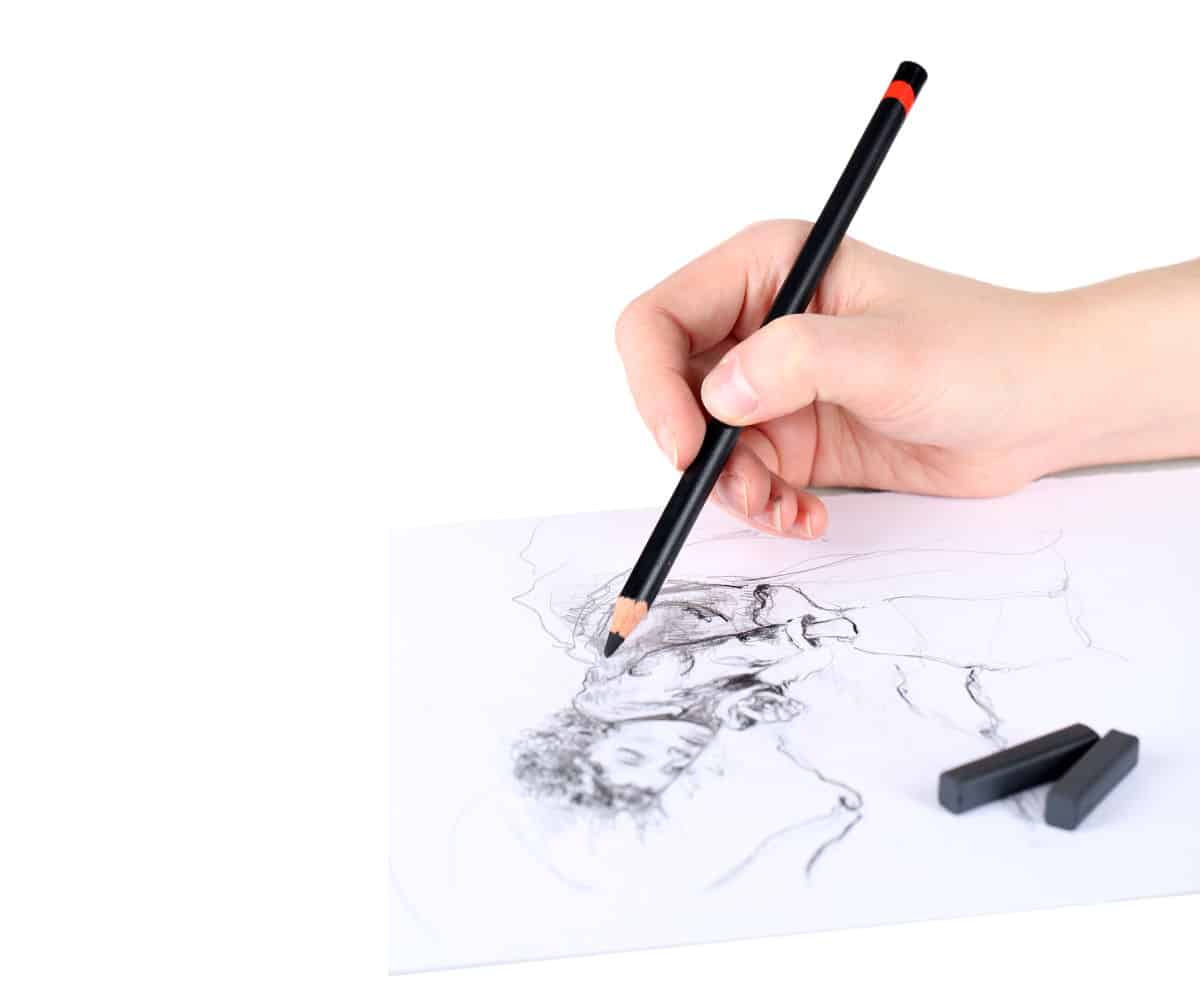
10. Hold the Pencil Correctly
Most people learning to draw hold their pencil close to the bottom and draw by moving their wrists. This constricts the range of motion and makes the drawing tight. It works well for drawing in small details and tiny lines but not so well for overall drawing.
Holding the pencil a little closer to the top and drawing with your shoulder will make the drawing looser and flow more.
It is also easier to control the pressure you put on the pencil so your marks don’t become too heavy and damage the tooth of the paper.
This takes a little practice to get used to but you will be happier with the improvement to your drawing skills.
11. Avoid Smudges
You finally get a drawing that you are proud of. You step back to admire your work and see various smudges of graphite or charcoal all over the page.
Graphite and charcoal are soft and can be easily smudged and transferred to your hand and, thus, to the paper. You can avoid this by putting something under your hand to protect the drawing.
Some people use regular printer paper; I prefer tracing paper or glassine because I have found that regular paper can sometimes smudge. Also, the tracing paper and glassine are somewhat transparent, so I can see what is underneath.
Also, since I am right-handed, I like to start drawing from the top left corner to minimize the chances of smudges. If you are left-handed, start in the opposite corner.

12. Learn Drawing Skills
I have just given you a few starting tips, but for in-depth instruction, taking a drawing class may be a good idea to help you learn new skills.
If no classes are available near you or you don’t have the time to attend one, an online course may be a good idea.
There are hundreds of places to get drawing lessons and tutorials online. YouTube has many instructional videos by great artists for all skill levels. Just search for drawing tutorials for beginners.
There are also some really good drawing books on the market if that is your preferred way of learning. Having a few reference books on hand for ideas and inspiration is always good.
Practice what you learn, and don’t be too critical. Mistakes are often the best teacher.
13. Perspective
Understanding what perspective is and how to use it in your drawing will greatly improve it and allow you to create more realistic work.
Perspective is considered a fundamental drawing skill for artists to learn. It is the art of representing three-dimensional objects on a two-dimensional surface so that they produce the illusion of depth.
Learning about one-, two-, and three-point perspectives will keep your drawing from looking flat and give it a more realistic look.
For a more in-depth understanding of perspective, see my post on What is Perspective in Art?

14. Proportions
Remember to draw using the right proportions. Objects in the distance will be much smaller and less detailed than objects in the foreground.
Of course, you can manipulate the proportions if you are not doing a realistic drawing. Making one element larger or smaller than it is in real life in relation to its surroundings can bring more attention and focus to that element.
Manipulating proportion is one of the many techniques you can use to develop your own drawing style.
15. Draw Upright
Laying the paper flat distorts the angle at which you view your drawing. Looking at a drawing straight on will make it easier to correct the perspective and proportions.
A drawing table that tilts up would be ideal, but not everyone has the space for a large drawing table.
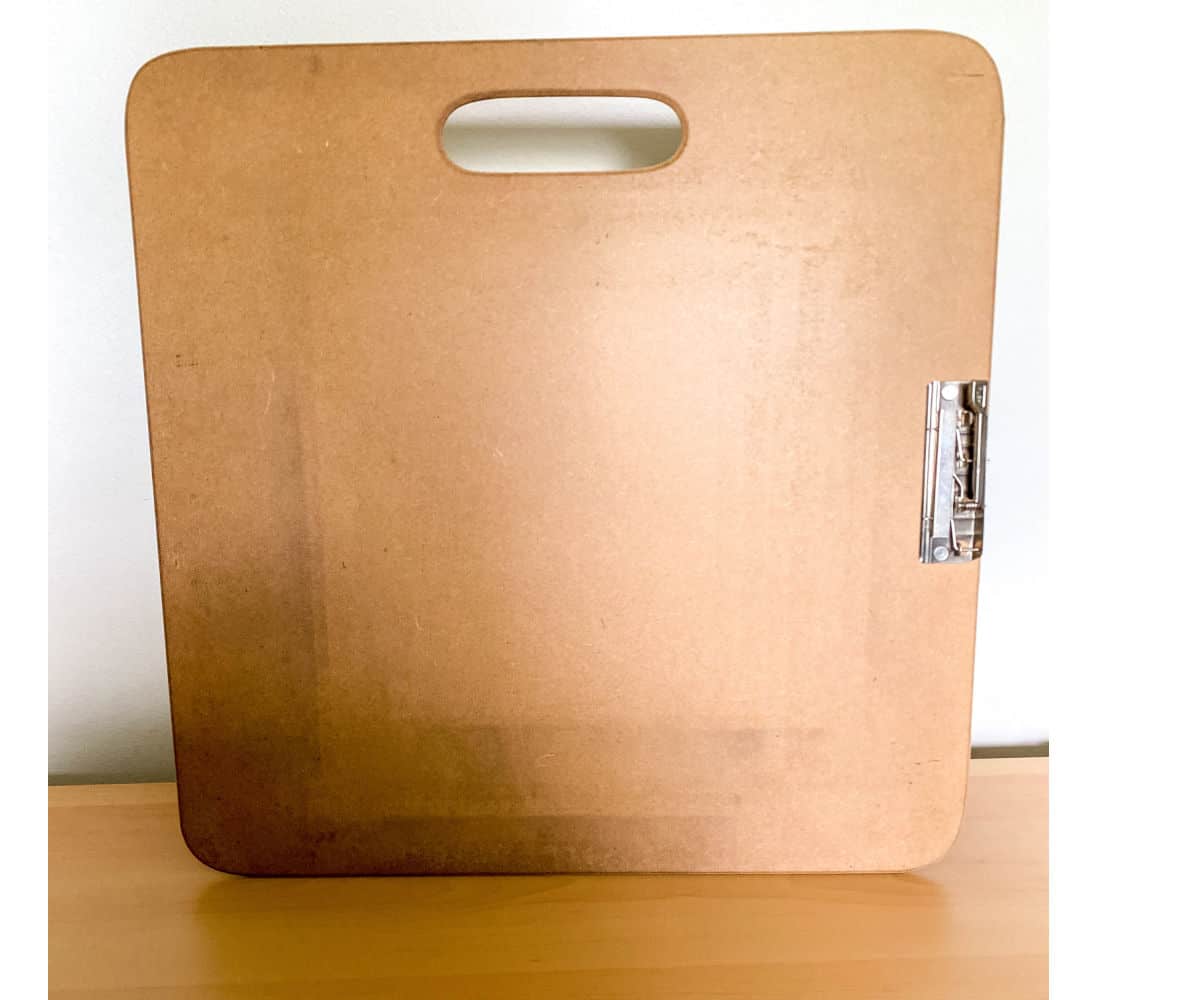
One solution would be to purchase an inexpensive drawing board and prop it up on an easel or lean it against something that is stable enough to draw on.

16. Doodle
Doodling is a way of expressing one’s creativity. It helps writers and artists think outside the box and determine what they should draw next.
Doodling has been shown to improve drawing skills, as it trains your brain to work more creatively. In addition, it can help you focus on a task by occupying your mind with something that feels like play.
Doodle while you are on the phone or watching TV or any time you are feeling bored.
Draw repeated patterns, geometric shapes, random lines, or anything you can think of. Repeatedly putting pencil to paper will help you get in the habit of drawing and learn how shapes and lines form objects.

17. Sketchbook
Keep a practice sketchbook for notes and drawing techniques.
Use it to practice a new technique, do warm-up exercises, or document your drawing journey.
Use your practice sketchbook to keep notes about new things you want to learn, problems you want to work on, or even art books you want to read or videos you want to watch.

18. Practice
I know I’m repeating myself, but it bears repeating. Practice!
The best way to grow as an artist is to practice. The more you practice, the more muscle memory you build, and the better your drawing will be.
Drawing classes won’t help unless you practice what you learn. Draw every day. Get yourself a good portable sketchbook and carry it with you.
Compose a still-life scene. Draw it from different angles to see how the shadows and highlights differ. Switch up the composition and draw the same objects in different ways.
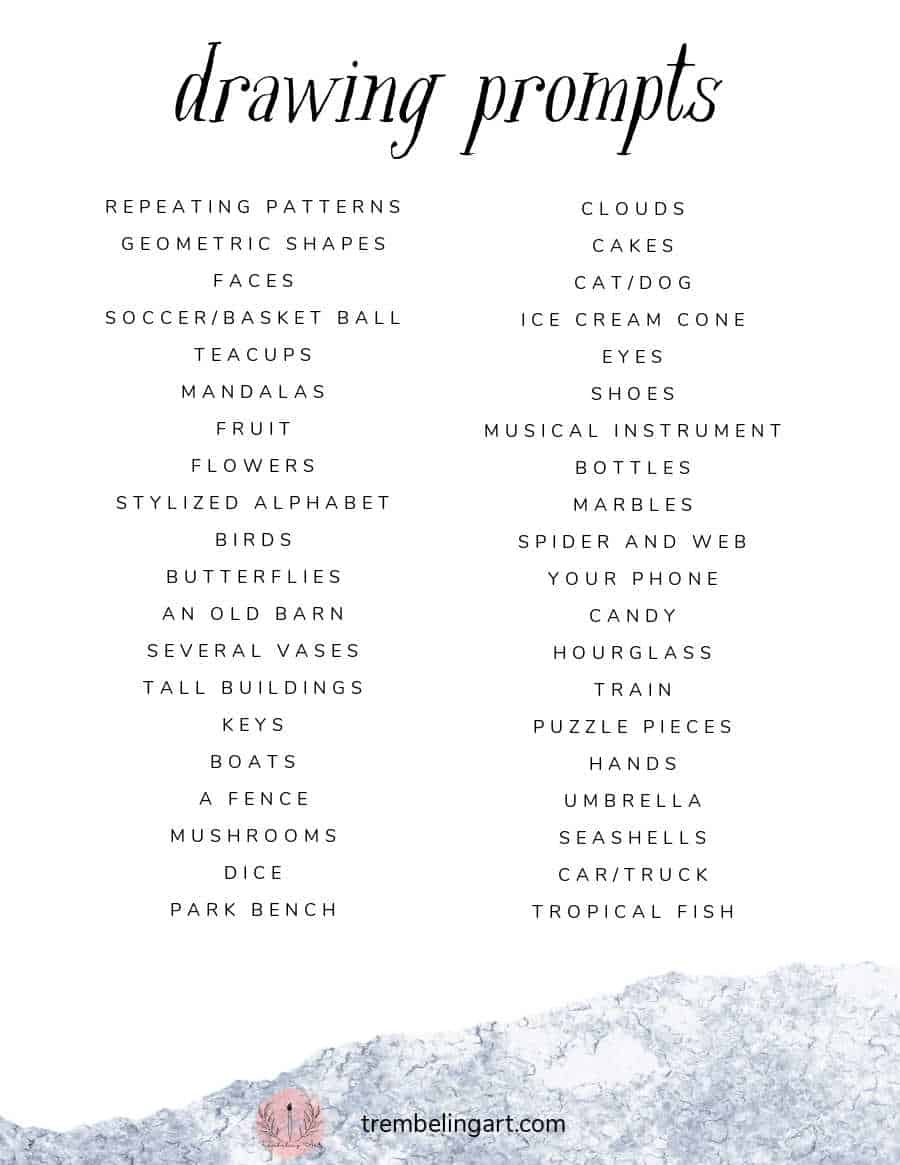
Pick something from the list below if you can’t think of anything to draw. Print off the list and keep it for inspiration.
Drawing Prompts
Click to download or print for future reference.
I hope these tips will help get you started on your drawing journey.
Be sure to check out my new Facebook group for more tips. Trembeling Art Creative Corner
If you like what you have learned here, please share. Happy drawing. 🙂
Thanks for reading.

Mooie en duidelijke site met goede informatie.
I hav Lupus and RA I have drawn since I could hold a pencil and introduced to art at 10 in a art class. This is wonderful giving the beginner answers to their questions. Thank you for taking the time to helping them and introducing them to the world around the.
I have practisted art since I could hold a pencil, I doodled or drawed. I was introduced to the wonderful world of art at 10 in an art class. I came on here to see what you had to offer, I believe you give one of the most complete beginners to help someone answer questions to get started to move forward, to fall in love with the world around them. You have done a great job for the world of art, doodling and journaling, thank you. You even helped by including many of the basic tools. So helpful, as I read this I looked around at my tools, one you missed is a ruler can help some times, but just a suggestion however again great job!
Hi Joan. Thank you for your kind words. I am so glad that the site is helpful to you. You are right, I did miss the ruler. I will update the post. Thank you. 😊
I look forward to puting these into practice. I am quite slow with severe ra. However I love art. I think I found my hero!
Thank you! ❤️
Thank you for sharing good tips
I am sure it will help me a lot
ARVIND patel
This is what I could call without error a place to get the best artist outside you. Excellent Place to learn. I start to developed Parkinson’s symptoms. I still shaking very imperceptibly until I need to draw. I found that many people say the tea of Yagrumo leaves to stop the tumbling for many hours. I will try it because my dad used it and its works until the condition is worse.
Thank you for the tips I use them everyday and then some.!
Thank you very much for sharing . Thanks for the helpful and useful tips.
Thank you! I love your tips on drawing and I will try a lot of them too!
You are an inspiration, I admire you and what you do, Lucretia
Thank you. 😊
It’s is so very helpful tips for me i think this will work ☺️
I draw and draw but nothing changes.
How do I improve? I am completely lost.
https://learningtodrawweb.wordpress.com/
Thank for your great advise im sure it will help me alot.
Lovely reading your tips. Very useful and more important- encouraging. Thanks
sswarashree@gmail.com nice tips thanks a lot
Such a wonderful list, learnt sth…all smiles
Thank you! Very helpful!!
Thankyou these are some great tips. You seem like a very positive person. Keep up yor pma (Positive mental attitiude) 🙂
This is a wonderful list of drawing tips. Thank you for sharing it.
Ok thanks I am a small artist.
🙂
Very helpful for me…. thanks 🌝👍
Thank you. 🙂