

Beginners Guide to Highlighting and Shading
Highlighting and shading are what define an object. The shadows and highlights in a painting or drawing give the subject shape and form.
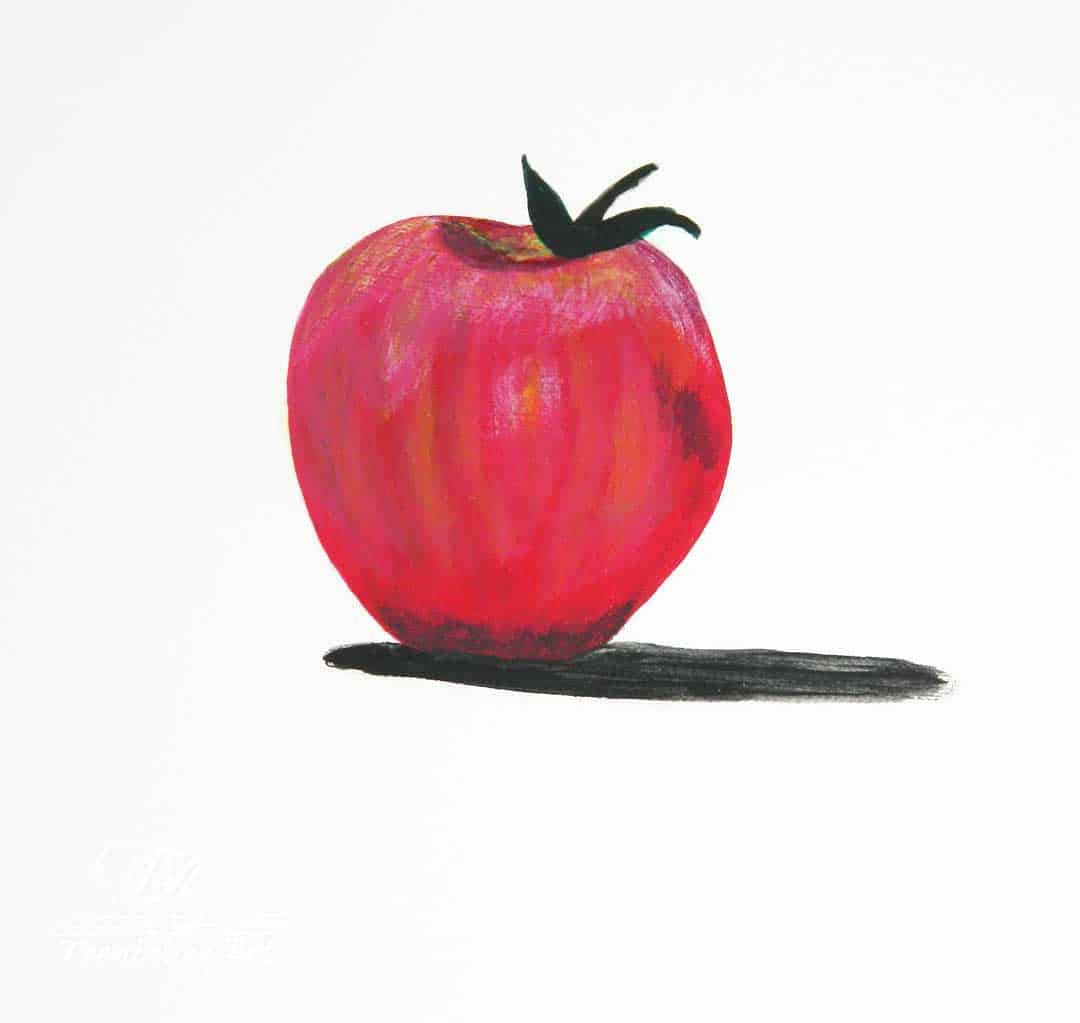
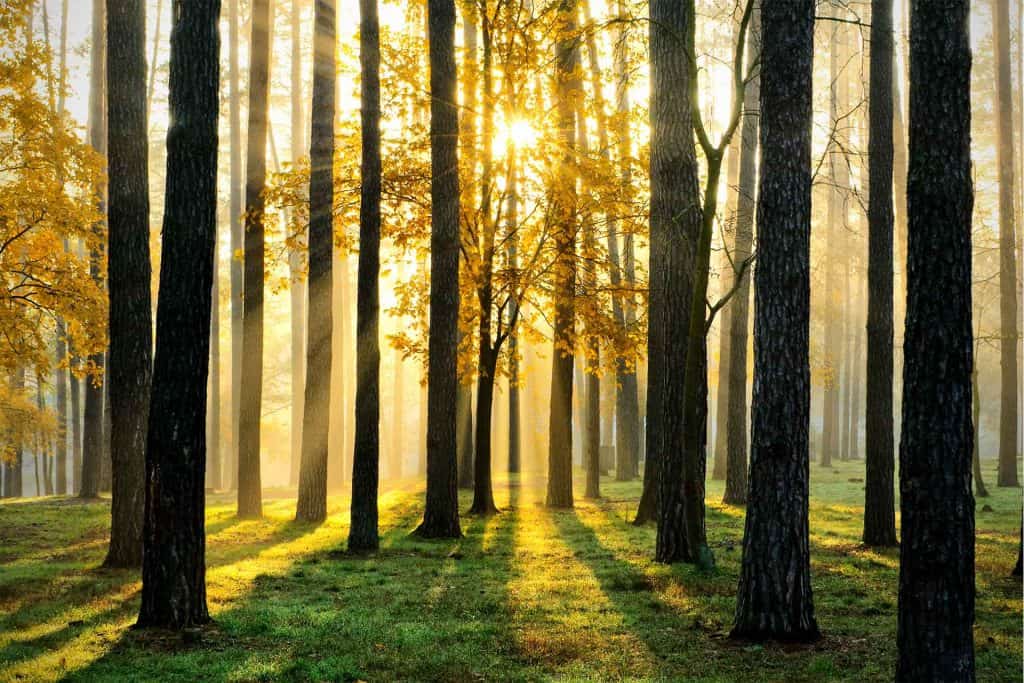
They turn a flat red ball into an apple. Highlights and shadows give your artwork depth and dimension, taking it from a flat, lifeless image to a three-dimensional object that attracts the viewer’s eye.
To be able to add the correct highlighting and shading to your artwork, you need to understand the basics of how light reacts with the objects it hits and a little bit about color theory.
When light hits an object, it forms highlights where it directly touches the object. The areas that are hidden from the light are shadows.
Shadows are formed by the object itself blocking the light.
Always try to determine where the main light source is coming from in order to get the proper placement of highlights and shadows.
To understand why highlights and shadows are important, read my post on How to Paint Photorealism.
This post may contain affiliate links. If you click a link and buy, I may receive a small commission. Please see my full privacy policy for details.
Shading
Most new artists use black for all of their shadows, but straight black won’t give you realistic shading. In reality, shadows are rarely a true black.
To find the right shadow color for your object, add tiny amounts of black or a cool complementary color ( see my post on complementary colors) to the original color of your subject to get a darker color.
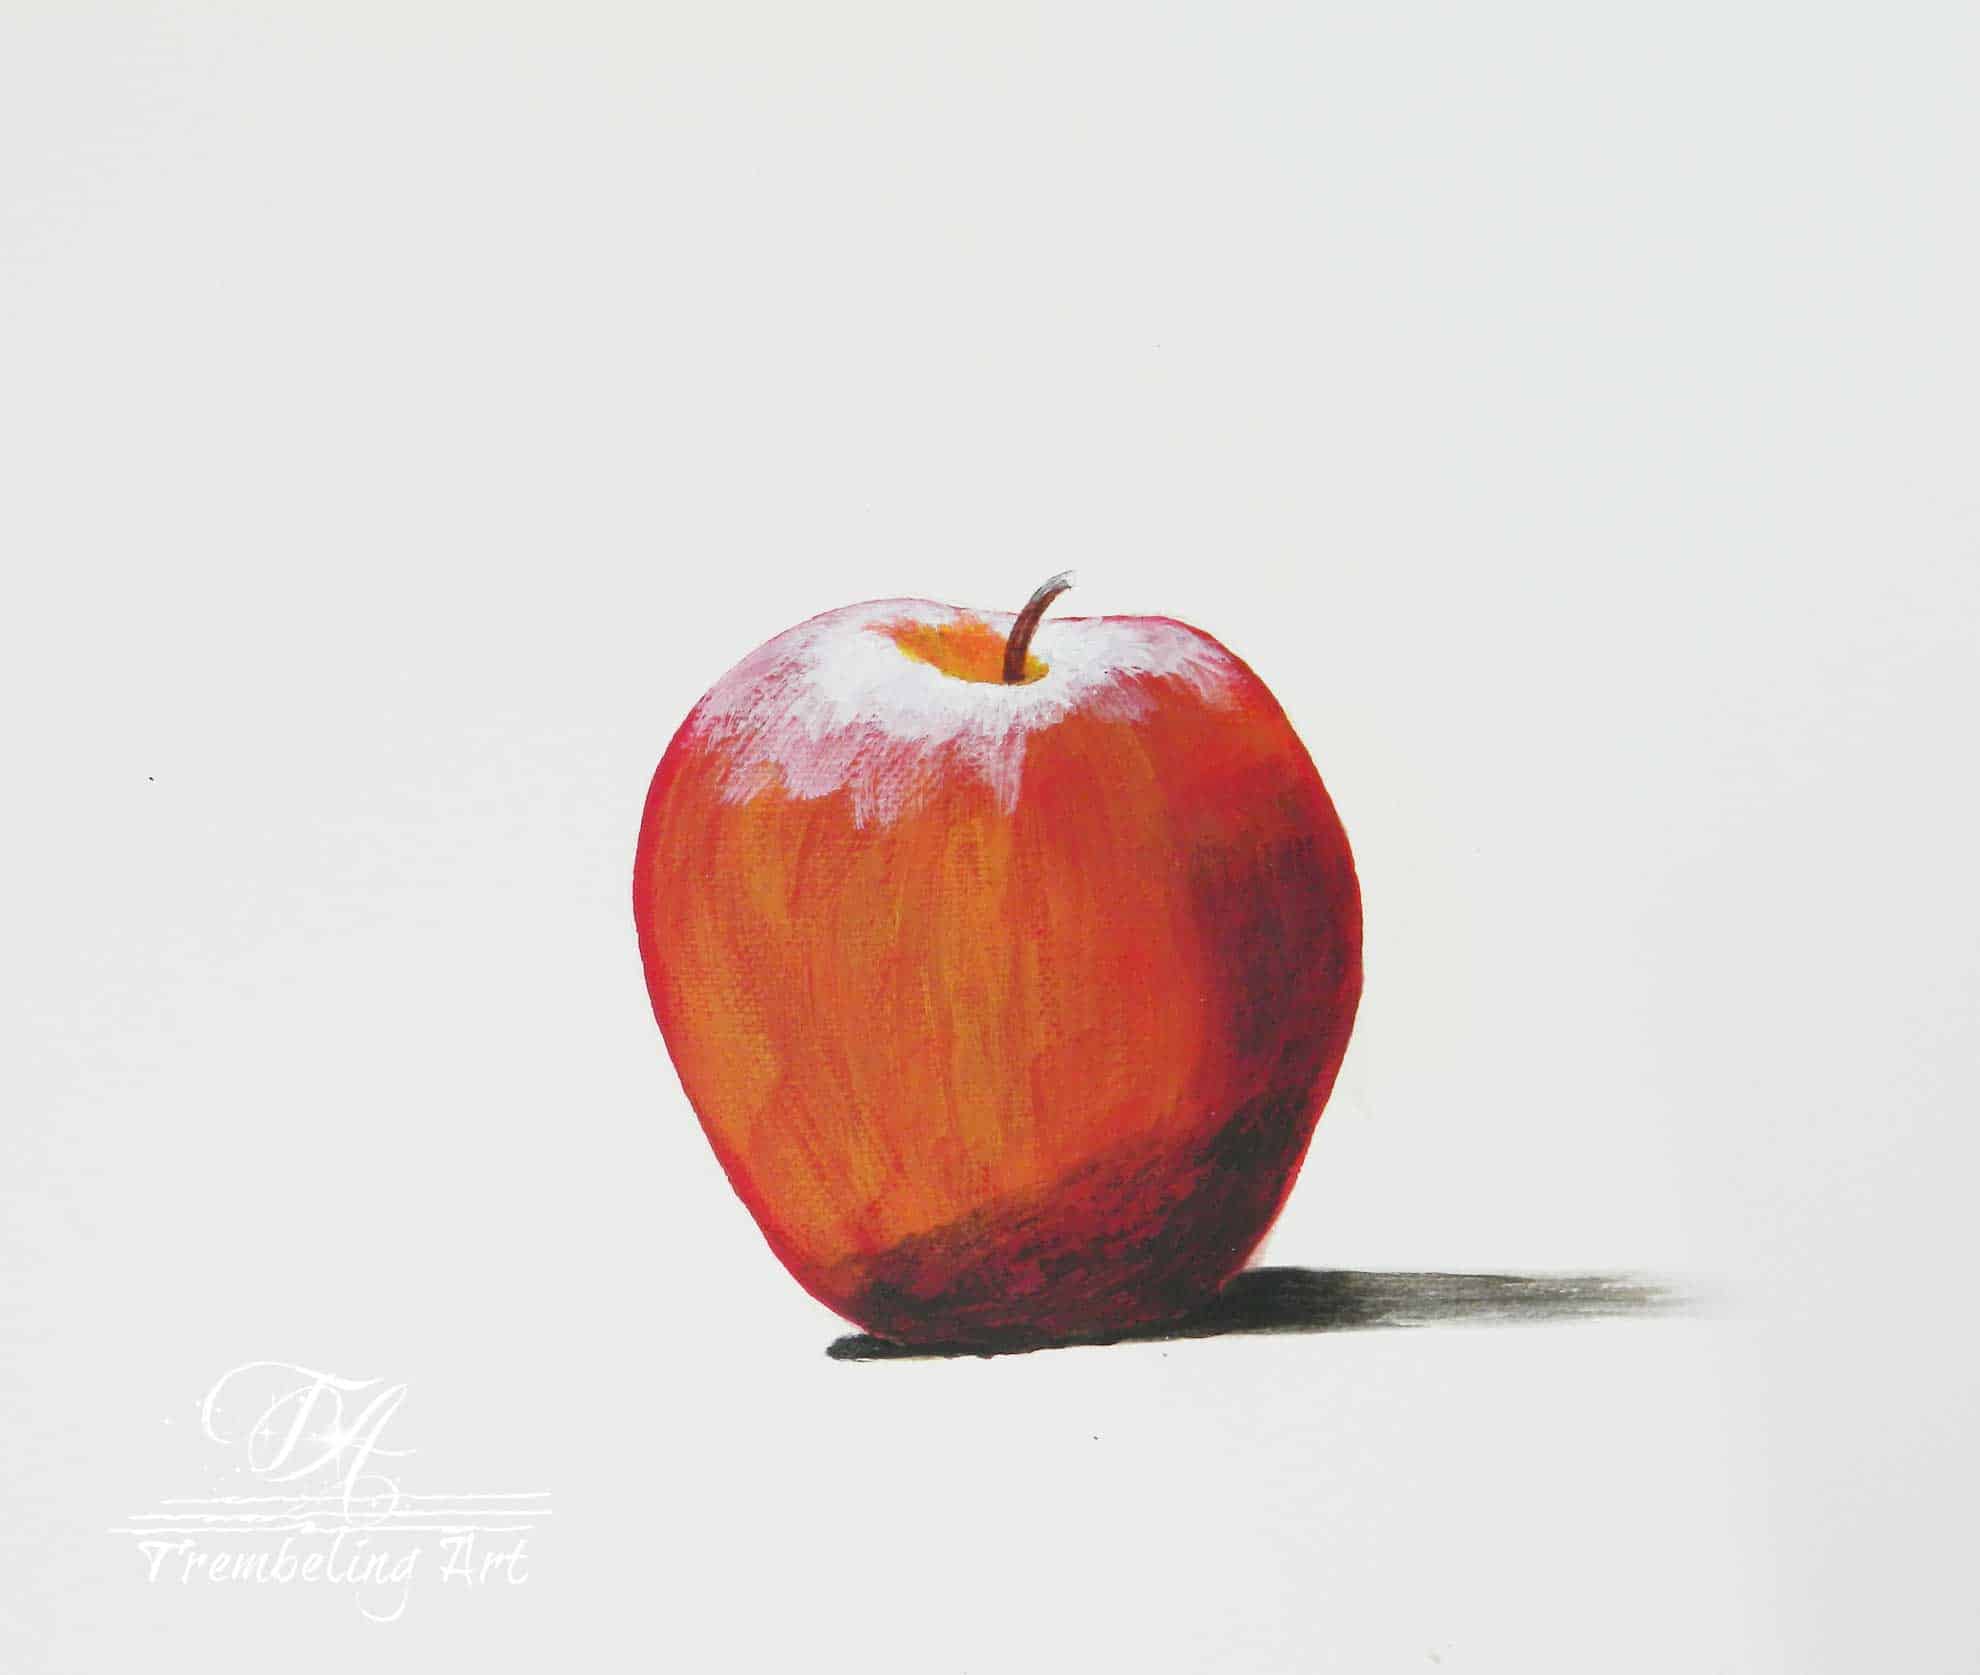
So, if you are painting a red apple, add a little black to the red or add a little of the complement to red, which is green.
Add a little at a time until you get the color you want. You can deepen the shadow by adding a little more black or green.
You can also use a chromatic black for the shading. One recipe for chromatic black is a mix of ultramarine blue and an earth color such as burnt umber.
More blue in the mix will give you a cool black. More burnt umber will give you a warm black.
This mixture gives you a rich dark hue that has more depth than just a flat black paint out of the tube. You can also add a little white to this mixture to get various grays.

Types of Shadows
Form Shadow: The part of the object itself that is furthest away from the light is called the form shadow. It is the darkest part of the object.
Cast Shadow: A shadow that is created by the object blocking the light is called a cast shadow.
The shadow occurs on the surface the object is resting on or next to. The object “casts” a shadow onto the surface.

How to Paint Shadows
There are a few ways of painting a shadow. You can use your shadow color to paint directly onto your object or surface.
Blend out the edges to make sure you don’t have harsh, straight lines. Use various mixes of your darker shade to gradually lighten your shading and blend it into the surrounding area.
You can also use a glaze to add shading. Mix your paint with glazing medium or water to thin it out so that it is almost transparent.
Brush this dark glaze over the paint already on your subject to darken it. You may need several layers of glaze to achieve the effect you want.
Shadows are not always dark. Snow and ice have very light shadows.
The shading in very light subjects is more dependent on contrast than darkness.
When I look at the snow in my backyard (we have almost 3 meters or 10 feet!), I see various shades of white and blue (blue reflection from the sky) and only tiny areas of a true dark color.
I find the easiest way to paint snow or other very light or white objects is first to do a ground or base color.
For snow, I usually use a blue-grey, then paint the white/blue snow on top, letting some of the ground show through, which forms the shading in the snow.
This is one of the reasons it is important to study your scene or reference photo before planning out your painting.
Look at the underlying tints of color and see where the light is hitting and where it is blocked. Art is as much observation as it is creation.
Highlighting
Adding pure white paint where the light source hits your subject is tempting. However, as with shadows, highlights are rarely pure white.
They contain hints of the colors around them. Pure white should be saved for the brightest highlights, such as a sparkle in the eye or the light in a dew drop.
Pure white should be used sparingly.
Highlights are not as complicated as shadows, but they are the “icing on the cake,” so to speak.
Highlights can make your painting or drawing “pop” and draw the viewer’s eye. They also give more life to a piece.
Since we cannot see without light, even the darkest paintings have some highlights.
Where To Put Highlights
Highlights are usually found at the highest point of an object where it is closest to the light source. Highlights are painted by adding various amounts of white to the color of your object.
Add a little titanium white to your red to highlight a red apple. Add only a little at a time because you can end up with a bright pink if you are not careful.
If you are having trouble with this, try using zinc white or transparent mixing white. This transparent white will not give you the milky color you usually get from pure white.
You can also try adding a little yellow to your red, tiny amounts at a time, or you could end up with an orange.
You can also use a warm complement to your base color, so you would use a warm green for red.
You really need to experiment a little with mixing these colors since the colors around them can also influence them.
Use a soft brush with a light touch for highlights. They should be subtle and the edges well blended into the surrounding color.
Gradually build up the highlight rather than having a blob of light-colored paint.
Observe where the light hits your subject. There will be bright highlights and areas of more subtle lightening.
Experiment With Highlights and Shadows
Try this exercise to help you better understand how highlights and shadows are formed.
Place an apple or any simple object on a table in a dark room. Use lamps or a flashlight to shine light on the object from various angles.
Move the light around and observe where the shadows fall on the table and on the object itself.
Pay attention to where the light hits the object, where it is brightest, and where it is more diffused.
You can read my post on chiaroscuro to learn more about how the old masters used light and shadow to make objects appear three-dimensional.
Tips To Remember
- Shadows are the darkest closer to the object.
- Highlights and shadows should be blended and never form a harsh line.
- Shadows have darker and lighter tones, never a flat black.
- Everything has a shadow.
- Start lightly with shadows and build up with more layers.
- Pay attention to the light source.
- Shadows are not always dark. Sometimes, they are more subtle, such as the shadows on snow.
- Squinting at a shadow will help you see the lights and darks.
- Color is not the most important element in a painting. It is more important to get the values right – lights and darks. See my post on Value.
- Take a picture of your subject and convert it to black and white to better understand the lights and darks.
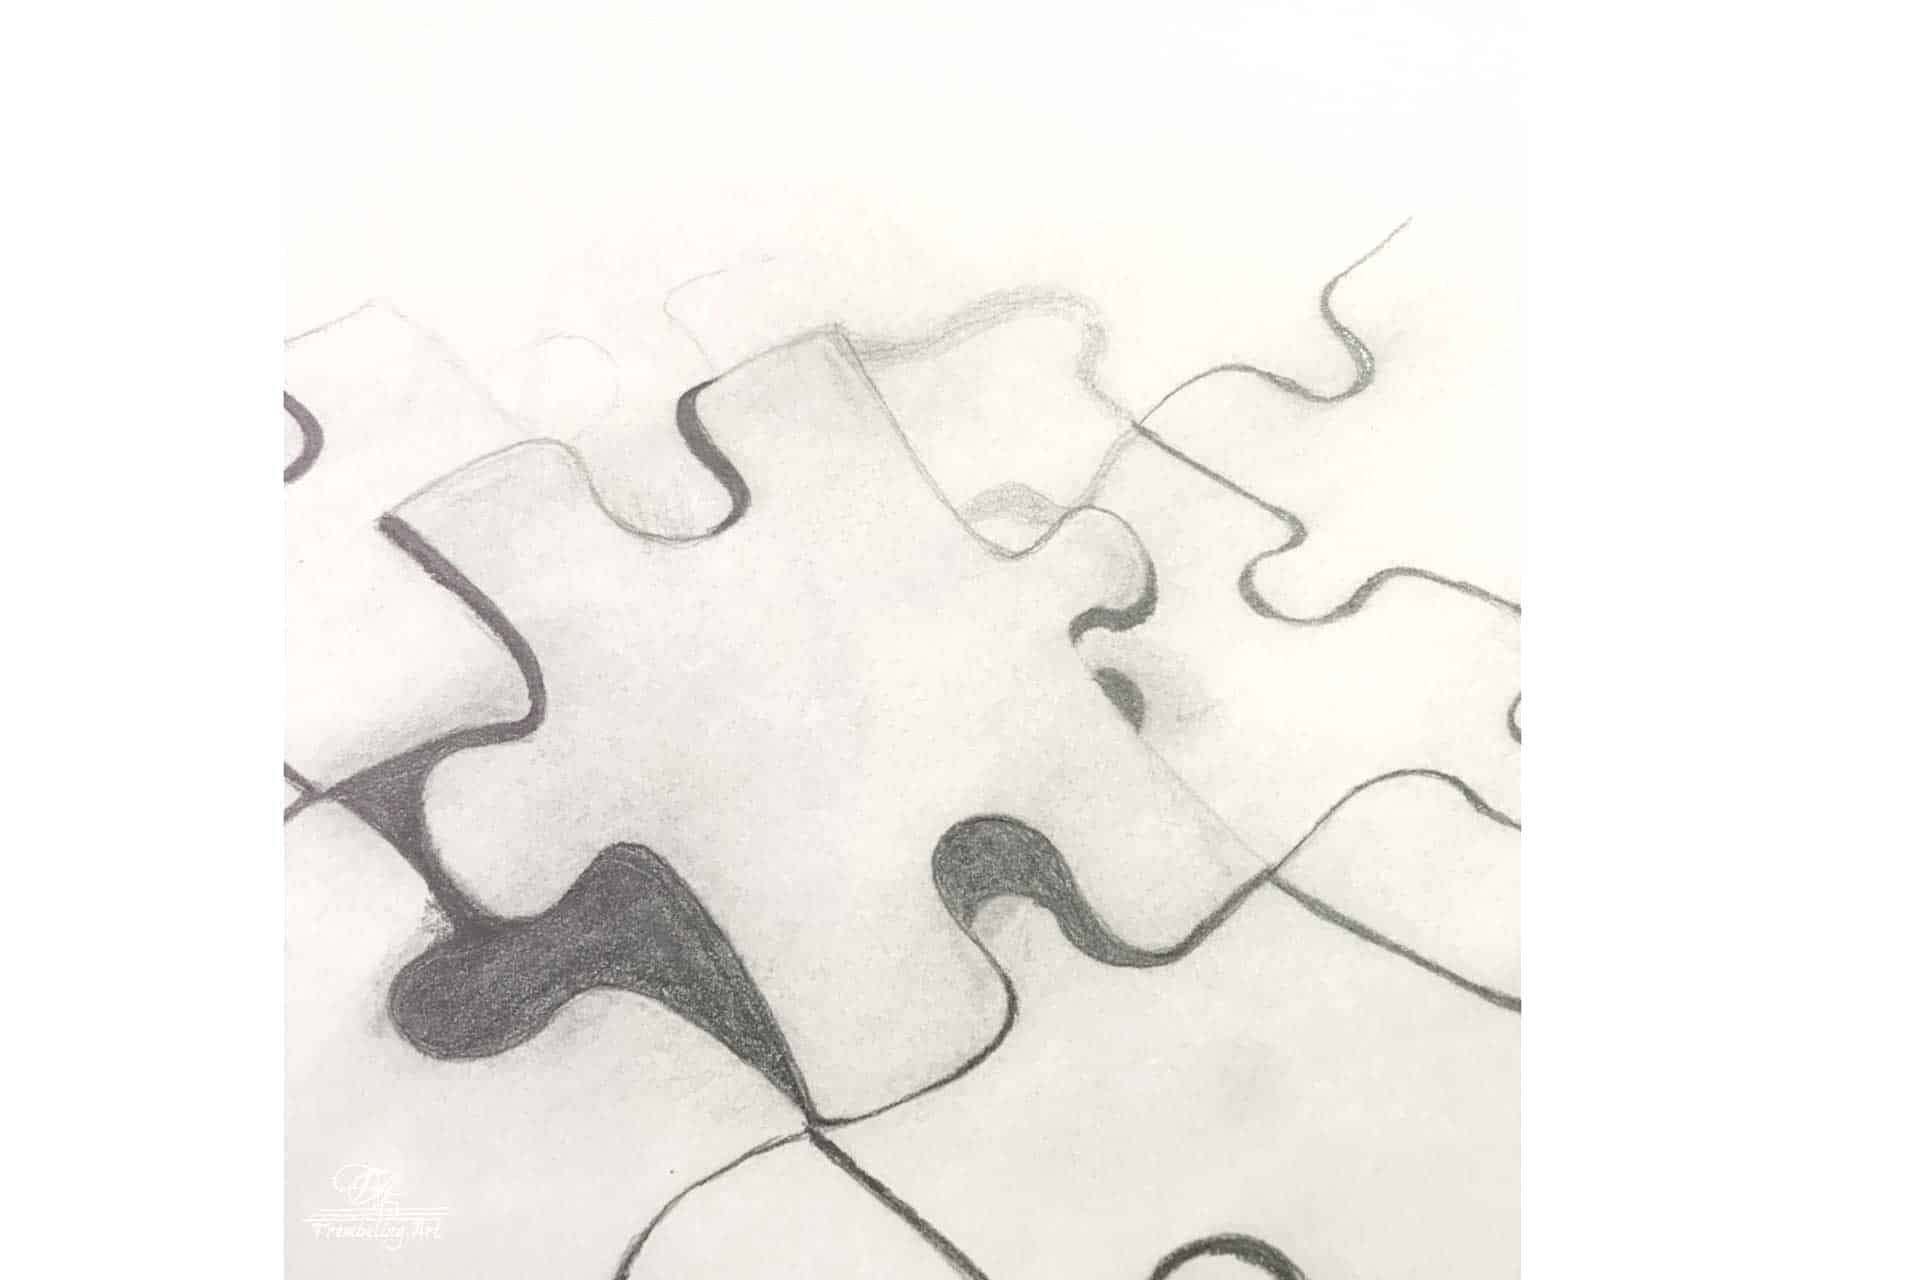
- Sketch your subject in graphite first to get an idea of where you want your shadows and highlights
- Practice often. The more you paint, the better you will get. Don’t get frustrated. Every brushstroke you make gets you closer to where you want to be.

I hope these tips help you to understand the basics of highlighting and shading. Take some time to practice on simple subjects.
Develop your own color preference and style for your highlighting and shading, and most importantly, enjoy the process. 😊
If you have questions, you can leave them in the comments below. You can also join our free Facebook group, Trembeling Art Creative Corner, where you can ask questions, post your work and get to know some fantastic artists from all genres and skill levels. 😊
Thanks for reading.

Thank you so much for your post. I went to college 40 years ago to become a elementary art teacher. Only to have the college professor tell me I couldn’t draw and to switch my major. Because it took him 7 years to get where he was and he didn’t have the time to help me. That crushed my dreams I had that day. This teacher was known for not giving A’s or B’s. In my class we had Seniors and Juniors which all heard bad things about the teacher and decide to take his beginning art class last. He gave them all D’s and F’s. I took a incomplete in his class and asked what I needed to do to complete. He said I need10 still life drawings with 1 being from outside. I found a lady off campus that gave tole painting classes. I told her I had to hand draw 10 different pictures and turn them into the college professor. So she set me down and each day I went to her she gave me guidance on how to draw theses pictures. Anyway I turned them all in to the professor and he gave me a C for the class. I changed my major to Industrial Arts Education (Woodworking) and I wasn’t happy and dropped out after 1 1/2 years.
Anyway thank you for your guidance. Now I have been dry brushing gaming miniatures. And dry brushing ceramics.
thank you for a wealth of information .I am a beginner and outsider artist but actually have learned to sketch rather decent . My trouble is as you say, when i paint it looks “ amateurish “ because i lack the skills for proper shadowing and contouring a face .Though i’m improving every day .
Can i pay you for a private virtual zoom lesson ? would love to work with you
thank you!
makaso
I am sorry Michele, I don’t do private lessons. 😊
Your articles give very deep knowledge and are really helpful.
Thank you 😊
I’ve been painting for years and this was very helpful. It’s interesting that even with some experience you can still learn from another perspective. Thanks so much!!!
Vanessa
Thank you Vanessa. I am glad it was helpful. It’s true we are continuously learning from each other. 😊
Hi Marilyn,
I am a kindergarten teacher, and I am trying to teach some technics to paint. I read your post and I found it fantastic, very informative, easy to understand.
Thank you very much you gave me enough tool to start a project with my little ones 👌😊
😊
Hi Jenny,
I am so glad you found the information useful. It is so good to see little ones learning the joys of art. It makes my heart smile. 😊
Thank you for writing and posting this!! It is one of the most helpful things I’ve read that explains shadows and highlights in an informative and simple way. I just had to say thank you for this. So happy this found me today!
Thank You for this very informative and helpfull post. This was something I needed to know. Your explanation has made it easy to understand for a newbie.
😊
full thanks for U . it is V good explanation.
Thank you for sharing these tips. I needed this. Great job!
So happy I stumbled across this site. The information is so helpful and your way of teaching is so clear. Thank you.
I’m new to painting and I’m self taught. Your article was very helpful. Looking forward to putting it into practice today. Please keep posting your articles. Again thank you so much.
It is very informative for me .. i am from pakistan.. thank you so much
Thank u I understood about shading I will
Very interesting and informative. I thought I had this part of painting down pat but I see there is much more to look at and consider and experiment with. I can hardly wait to print out your blog and share with my fellow beginner painting buddies.
I truly admire you and truly appreciate your postings
I have a disease that makes me jerk and tremble. I thought I’d have to give up arts and crafts but you have inspired me and I’m not giving up. Thank you and God bless you🤗🙏🙃
Thank you Wendy 🙂 I am sorry you have to deal with your illness and I am happy that my posts give you some encouragement. Never give up! There is always a way to work around our challenges to enable us to do the things that make us happy. I admire your determination. 🙂
I went to watercolour classes many years ago. I did not do well with watercolour. But while at the watercolour class i met a lovely lady who was very shaky and the whole class admired her. We all wanted to see her work when the class finished. Her paintings were the envy of us all. She painted so loosely and created lovely flowers, well to honest she created beautiful art. Just know that your art will be something someone with a steady hand cannot do ! Joan
Easy to follow, easy to read…heck I had formed to leave a
commment!
Thank you. 🙂
Thank you for such an insight to shadows and light I now understand it a lot more .It was something I struggled with much clearer now
Liz
Thank you Liz. I am glad the article was helpful. 🙂
Hello, just wanteⅾ to say, I lioked this pօst.
It ᴡaѕ practical. Keep on posting!
Thank you. Glad you enjoyed the post. 🙂