

Every artist needs some type of surface to lay out their paint for easy access while working on a painting. These surface, no matter what type, is called an artists’ paint palette.
Paint palettes can be homemade or store-bought. They can be made from different materials such as plastic, glass, wood, paper, or even ceramic.
A palette should be flat with a relatively smooth surface to give the best mixing area and keep the paint and other mediums from running.
Below is an explanation of the different types of palettes, including purchased and homemade ones, and how to choose the best palette for your painting style.
For more tips on acrylic painting for beginners, visit my post on tips for beginning artists.
This post may contain affiliate links. If you click a link and buy, I may receive a small commission. Please see my full privacy policy for details.
Homemade Artists’ Paint Palettes
Beginning artists usually start off with a tiny little plastic palette that comes with a painting kit. It usually has little paint wells surrounding a small flat surface. It’s more suited to decorating easter eggs than doing a full painting.
The next step would be to look around your kitchen to find something a little larger to use as a palette. There are a wealth of items in your home that can be used to hold your paint. It must be a flat surface that won’t absorb all of your paint.
Paper plates or styrofoam plates are common items to use as a paint palette. They are lightweight, won’t absorb too much paint, and are disposable so not too much cleanup.
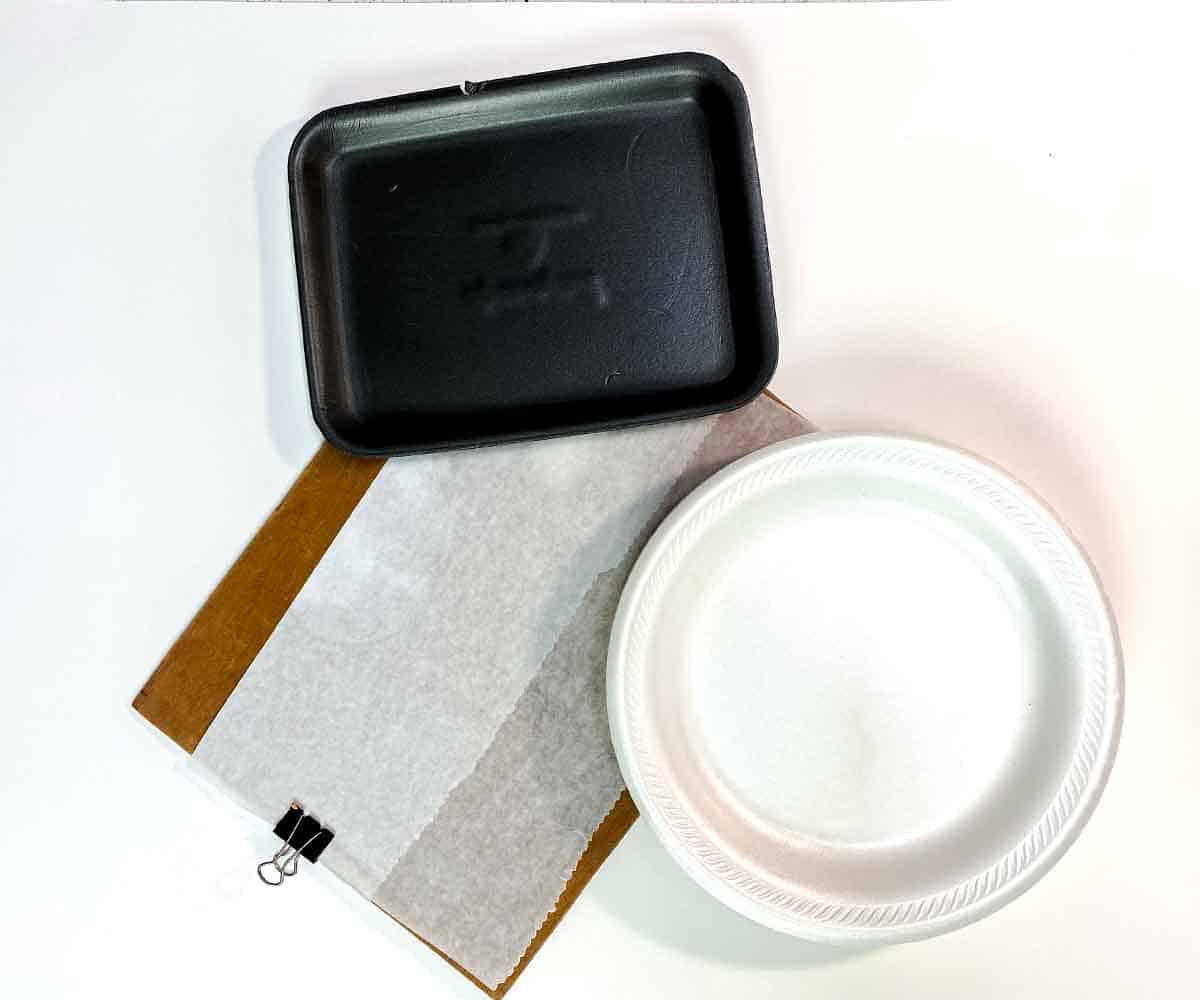
On the downside, they usually can’t be reused so you have to continually buy more paper plates. The amount of waste this produces keeps me from using a styrofoam plate as a palette, but they are an option if you are going to a class or a paint night and don’t have a place to clean your palette after your painting session.
A thin piece of wood, cardboard, or an old cardboard box covered in plastic wrap or foil can also work. The plastic wrap has a tendency to move and the foil makes a bit of noise but either one will hold your paints and provide a surface for mixing.
Old dishes are also a great choice for a do-it-yourself palette. Old ceramic or glass plates or small serving plates work well. Choose dishes that are fairly flat with a slightly curved edge to keep the paint from running off the plate.
Yard sales and second-hand stores are great places to find these if you don’t have any on hand and you have the added bonus of having a pretty or unusual palette to work with. Try to find white or grey dishes that don’t have a raised design on the surface.
I have included instructions on how to make your own stay-wet palette from household items at the end of this post. 😊
Purchased Artists’ Paint Palettes
Plastic Palettes
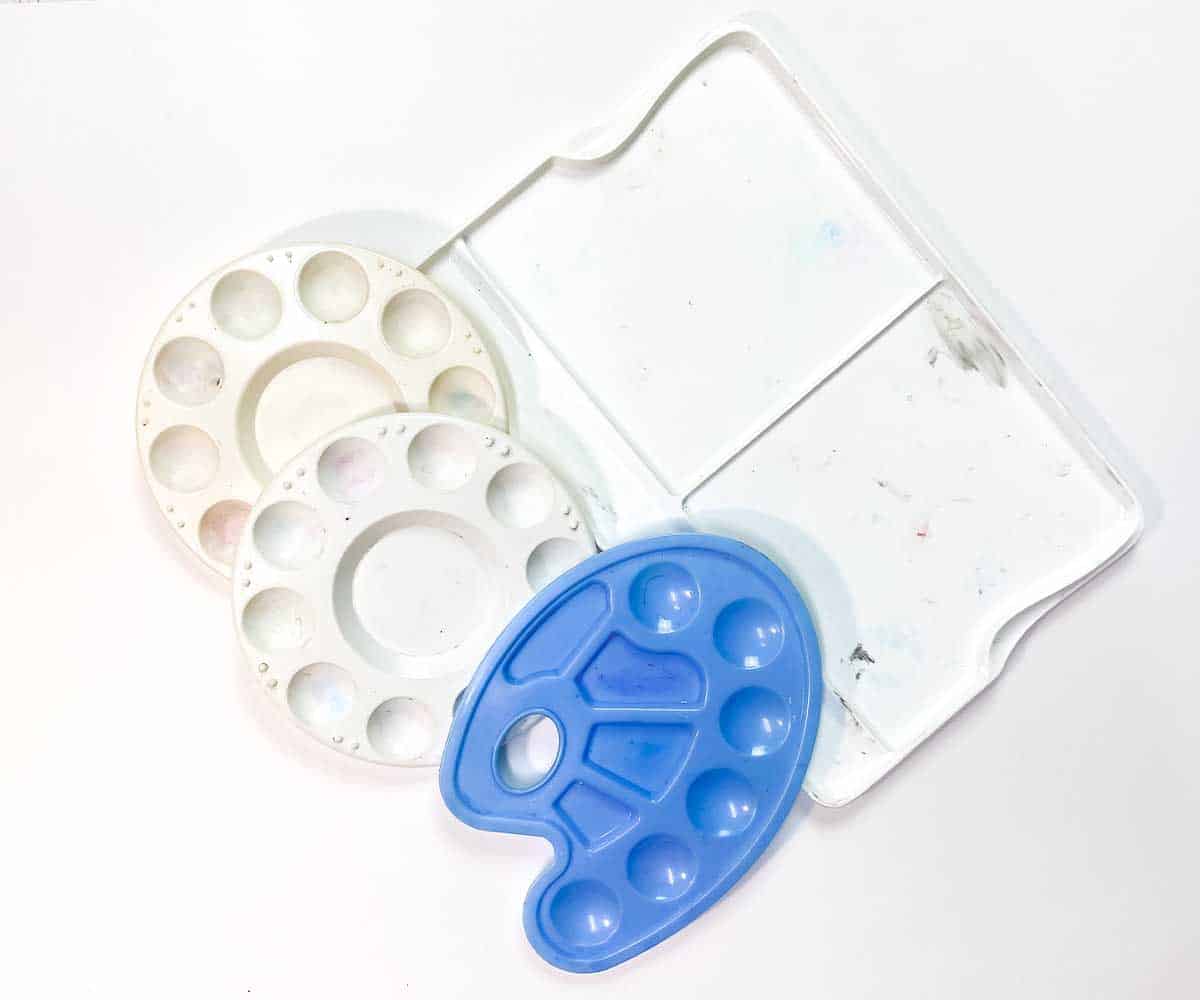
Probably the cheapest option for a purchased palette would be a plastic palette. Not a tiny palette like the one mentioned above, but a more substantial palette that would hold more paint and give you a large area to mix colors.
Plastic palettes come in different sizes and can be round, oval, or square or shaped like the traditional artist’s palette with a thumb hole for holding the palette while you paint.
These palettes are easy to clean and lightweight so they are easily transportable making them a good choice to include with your art supplies while traveling. The dry paint can usually be peeled right off the surface of the palette, although some plastic palettes can stain from the paint pigment.
Since plastic palettes are fairly cheap, you can have several for various uses around your studio. A handy spray bottle to mist your paint will keep your acrylic paint wet while you are working.
Paper Paint Palettes
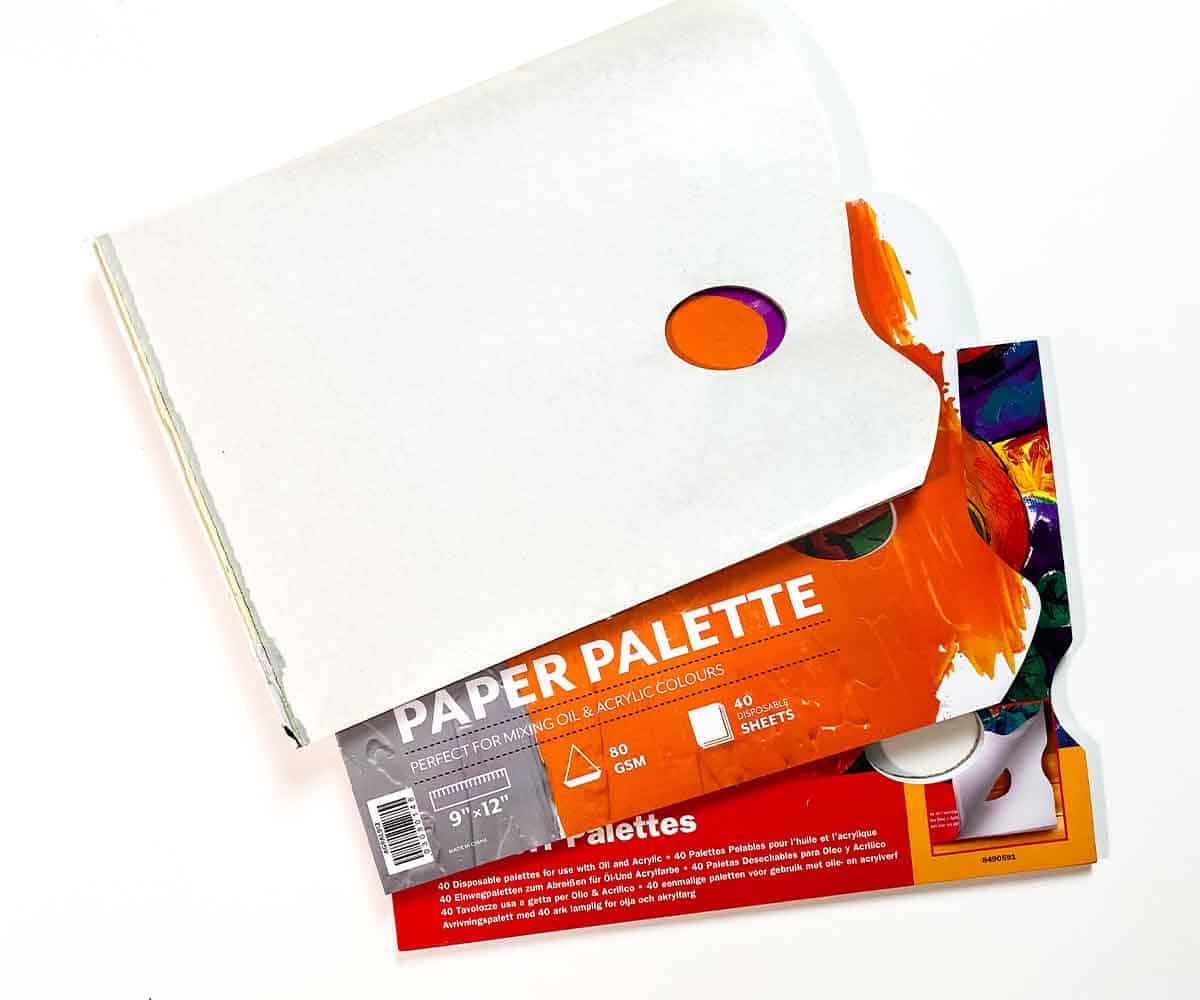
Paper palettes are convenient, cheap and a breeze to clean up. They come in a pad of attached sheets usually with a stiff cardboard backing. When you are finished painting just tear off the sheet of palette paper and you have a fresh clean surface to start the next project.
The downside of disposable paper palettes is that they can be a little hard to use a palette knife with. You don’t get that satisfying sound of a palette knife scraping against a hard surface. Disposing of paper also creates more waste in your trash bin.
Wooden Palettes

Probably the oldest and most well-known type of paint palette is the wooden palette. The term paint palette most often brings to mind an image of the old masters holding a wooden palette covered in oil paints.
Some artists still use wooden palettes for oil painting, but they are not great for acrylics or watercolors since the wooden surface tends to absorb too much of the paint.
Glass Artists’ Palette
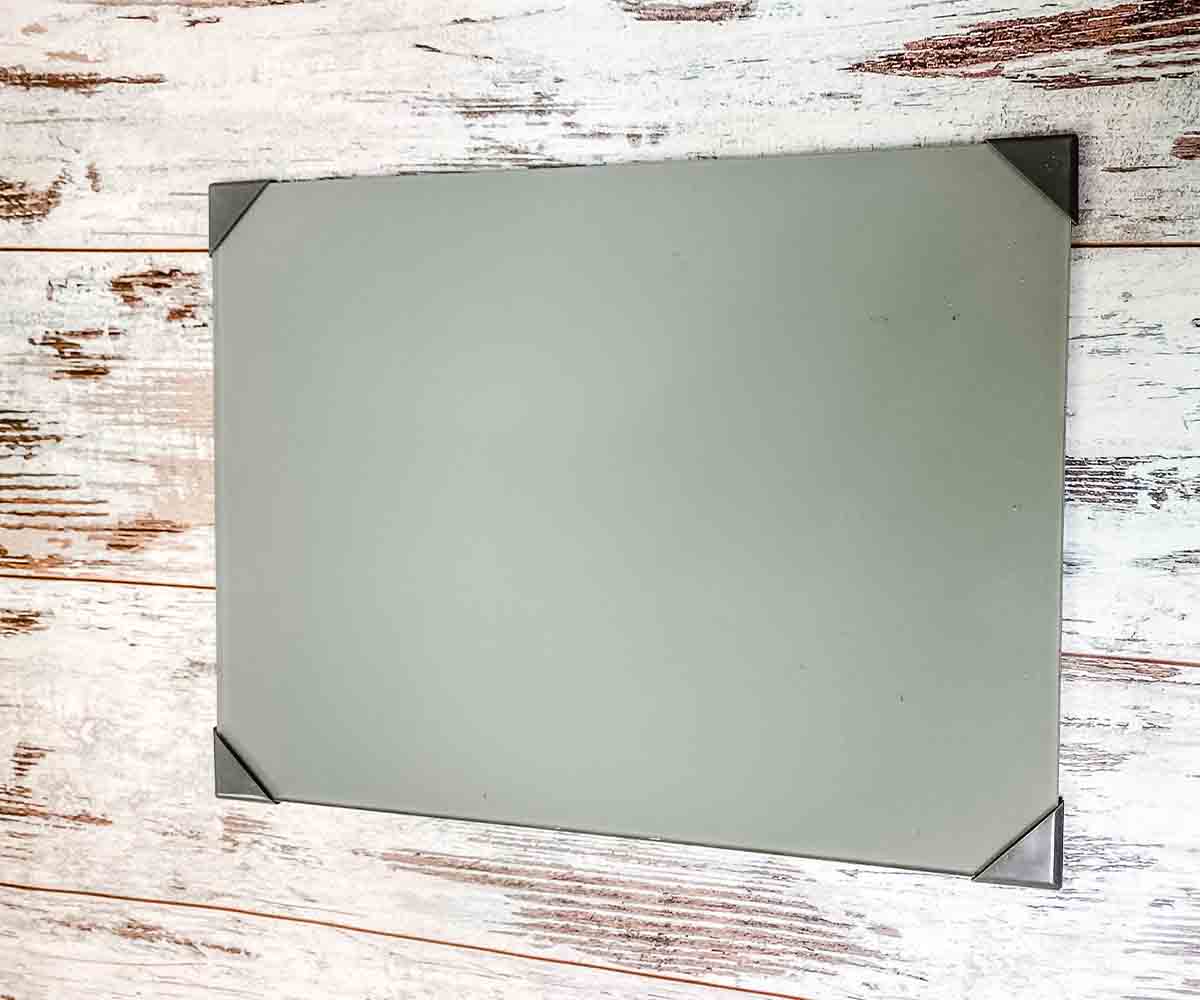
Glass palettes have become the favorite of many professional artists. They provide a smooth surface to mix paint and are made from tempered glass so they won’t shatter if dropped.
Since they are firm, glass palettes are the ideal surface to use a palette knife to mix your paint and the surface won’t absorb pigment. Cleanup is fairly easy with a glass palette.
You can peel acrylic paint straight off the palette once it dries, scrape it off with a paint scraper or palette knife or wash it off with some hot water or just wipe the wet paint off before it dries.
The drawback of glass palettes is that they tend to be large and heavy. I do have a smaller one, but it is still too heavy to hold while painting.
Gass palettes are ideal for studio use however and usually have some sort of grip on the bottom so they don’t move around on your bench or table. They are a great addition to a taboret if you are lucky enough to have one.
Ceramic Artists’ Paint Palettes

Ceramic palettes are most often used by watercolor painters, although they can be used with oils or acrylics. I find them excellent for using thinned acrylics or acrylic inks.
They have a smooth surface excellent for paint mixing. They also tend to stay a little cooler so my acrylic paint does not dry quite as fast on a ceramic palette.
Ceramic or porcelain palettes can range in size from tiny dishes to large “pans” so you can get the size that best suits your painting medium and style.
They can be heavy if you purchase a large one and some of them will break if dropped. They are sturdy enough not to get accidentally knocked over on your work surface.
Wet Palettes
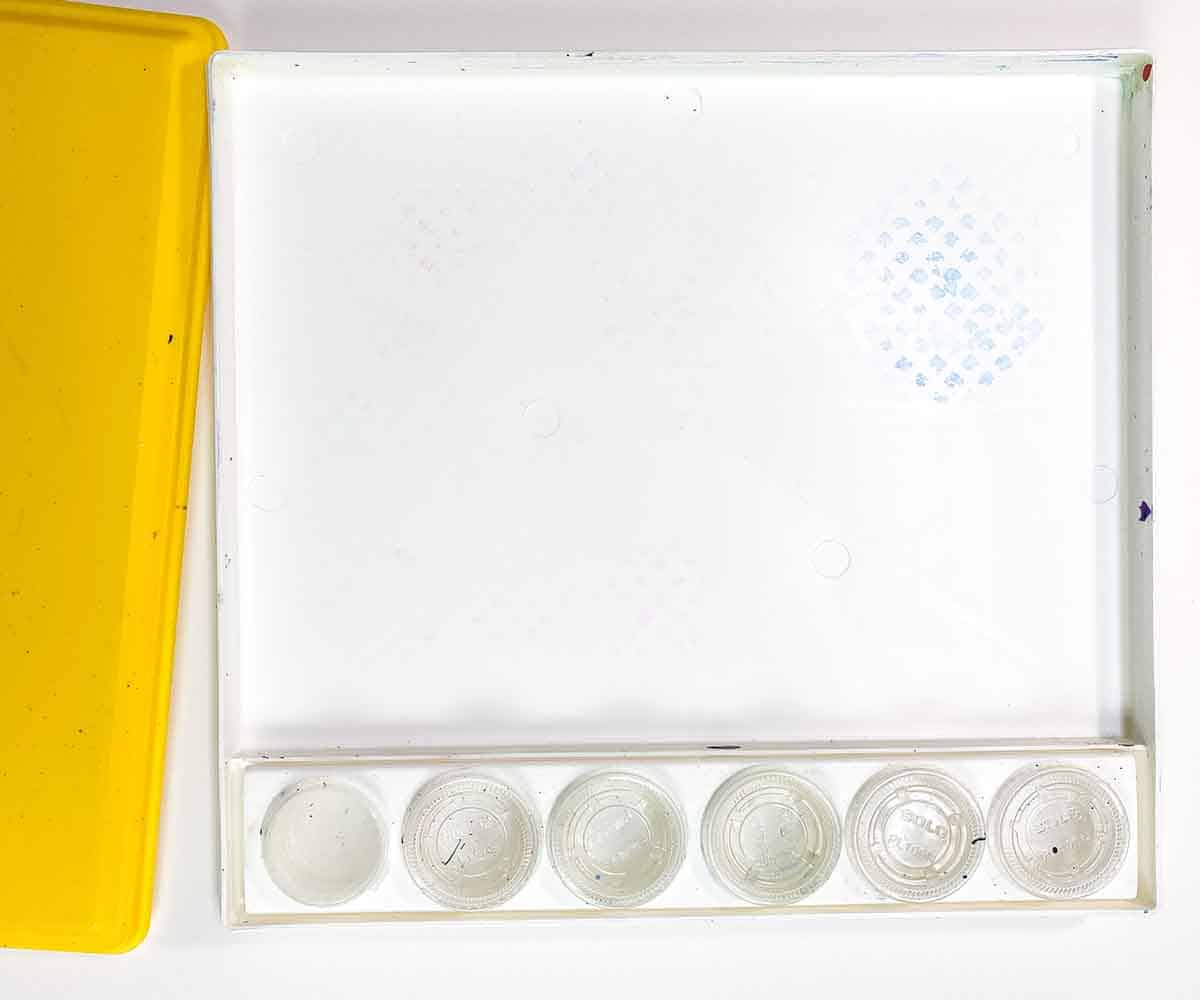
Wet palettes are perfect for acrylic painters, especially if you are doing large paintings. While acrylic paint can dry out quickly on dry palettes, a stay-wet palette can keep your paint workable for hours, or even days making it a good option for acrylic artists.
The palette is basically a plastic box with a tight-fitting lid. Most commonly there is a sponge that you dampen with water and lay at the bottom of the box. You top this sponge with palette paper or a specialty paper on which you squeeze out your paint.
Some stay-wet palettes, such as the Masterson Sta-Wet Palette, come with a beginning supply of sponge and paper.
When you are finished painting, just cover the box with the lid and the paint will stay wet and workable for days. If the sponge starts to dry out, just add a little water to the box to keep it moist.
These stay-wet palettes come in a few different sizes. Some are just plain boxes, others have wells for your paint along the sides. The one I have has little jars for storing paint mixes or mediums.
While you do have to replace the sponge and paper occasionally, the amount you save in paint will make up for that. Of course, you can always make your own stay-wet palette from household items. (See below)


How to Make a Stay Wet Palette

You can make your own stay-wet palette from household items. Just follow the simple instructions below and improvise with what you have around the house. A diy stay wet palette is an easy and cheap way to save money and paint.
Materials
- A large shallow container with an airtight lid, such as a Tupperware container.
- A large sponge, paper towels, or other absorbent material to fit the container
- Palette paper, parchment paper, or freezer paper
Tools
- Scissors
Instructions
- Cut the absorbent material to fit inside the container
- Wet the absorbent material and squeeze out the excess. The material should be wet but not dripping.
- Lay the material inside the box.

- Cut the palette paper, or parchment/freezer paper to fit snuggly inside the box.
- Soak the paper in water for about ten minutes and then drain.
- Lay the paper on top of the absorbent material.

- Make sure the container is airtight in order to keep your paints wet.

Notes
- When you have finished painting for the day, add a little water to the bottom of your container to prevent the sponge from drying out overnight.
- When you are finished with your painting project, make sure you allow the sponge and container to air dry completely to prevent mold.
- I use distilled water in my palette to help prevent mold.
- To save time in the future, make a cardboard template of the bottom of your container and use it to cut your sponge and paper when you have to replace them.
If you have questions, you can leave them in the comments below. You can also join our free Facebook group, Trembeling Art Creative Corner, where you can ask questions, post your work and get to know some fantastic artists from all genres and skill levels. 😊
Happy to have found you. i have terrible tremors. i go to UBC Movement Disorders/Parkinsons clinic. i can barely write/type/draw anymore.
i used to draw & paint a lot. i know NOT to wash acrylic down the sink as it is horrible for the environment. i peel off and re-use on a mixed media or peel off & into garbage. i prefer to use the silicone paint shapers as difficult to clean brushes in a way that isn’t harmful to our planet.
Thank you, Marilyn!
kari f.
I understood how to make the Tupperware version, but I do not understand where the paint goes. Are you going to lay a plastic paint 🎨 on top of the wet paper? I am glad I found your website.
Hi, I have a smaller sized wet palette that I really like but find that it is often too small for my project. I would be really interested in seeing the one that you describe as the one you use with the paint pots. Would it be possible for you to share a link? Thanks so much.
Hi Marilyn, the link to this particular palette is Sta-Wet Painter’s Palette
Thanks for sharing the full range of palettes – I’ve been using tupperware for my acrylic paintings for the longest time but am looking to upgrade soon. This article couldn’t have come at a better time! I’m torn between a glass palette and a stay wet palette.. I’d love to get your thoughts on the pros and cons for each!