

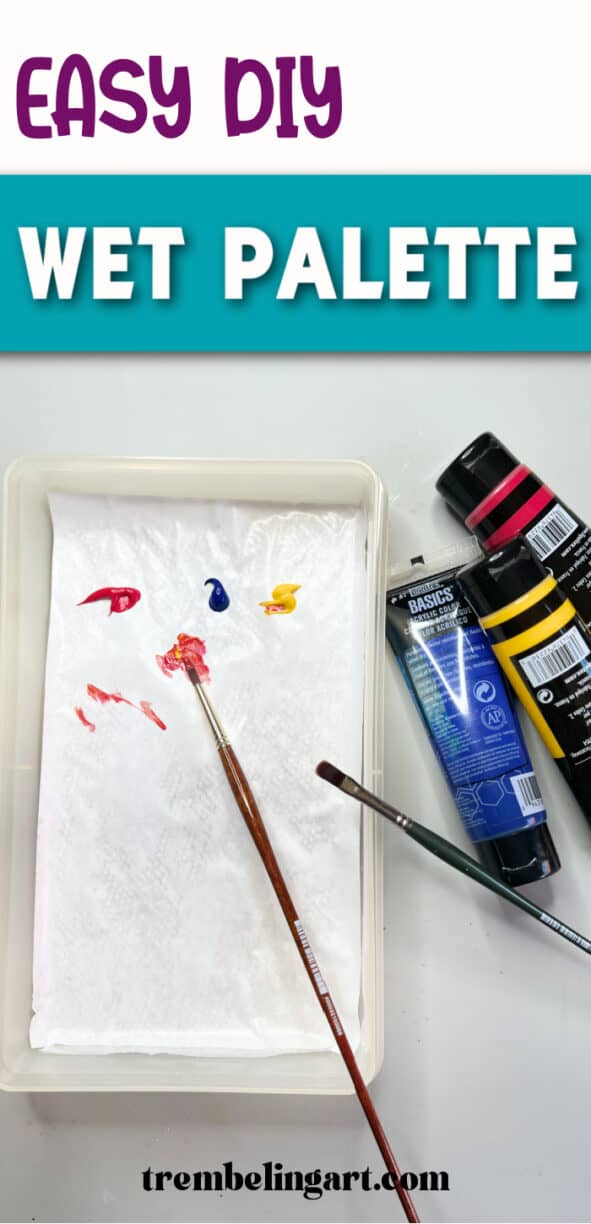

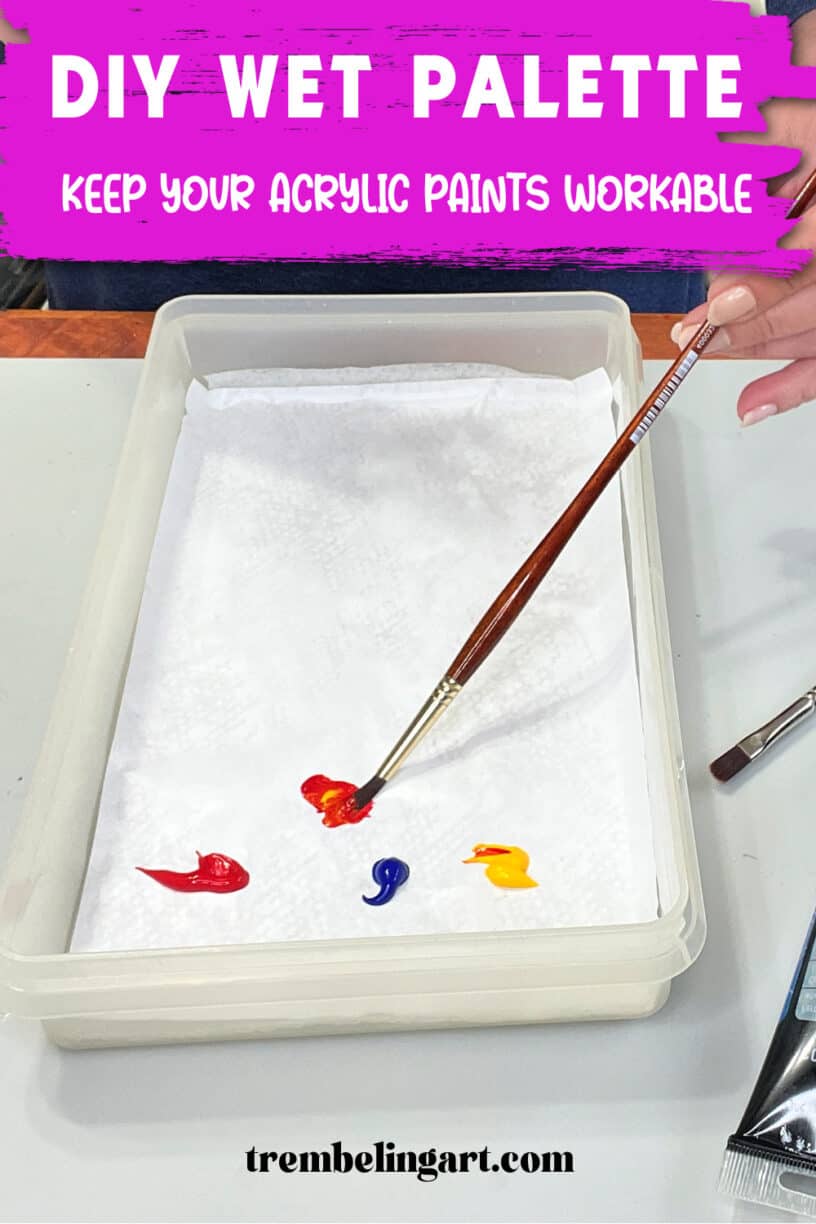
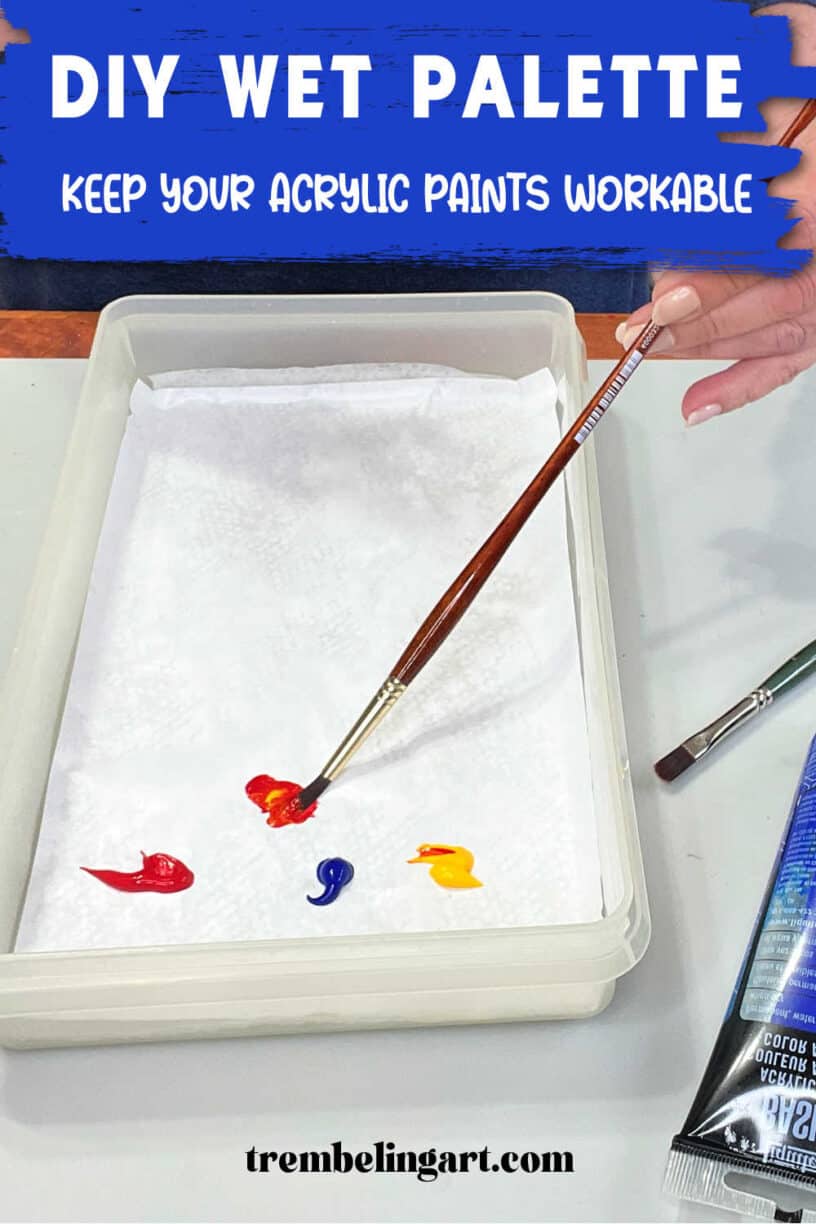

If you paint with acrylics, you already know one of their biggest advantages can also be one of their biggest frustrations: acrylic paint dries very quickly.
Sometimes it seems like you’ve barely finished mixing the perfect colour before it starts forming a skin on your palette. Not only is that frustrating when you’re in the middle of a painting, but it can also waste quite a bit of paint over time.
A wet palette, sometimes called a stay-wet palette, can help keep your acrylic paints workable much longer. You can buy commercial wet palettes, but you can also make a simple DIY wet palette at home using inexpensive materials you probably already have.
It only takes a few minutes to put together, and you can make several in different sizes to suit different painting projects.
What Is a Wet Palette?
A wet palette is a covered palette designed to help slow down the drying time of acrylic paint.
A layer of damp paper towel sits underneath a waterproof or semi-permeable palette surface. This creates a humid environment around your paint and helps prevent it from drying as quickly.
When you’re finished painting for the day, simply put the lid on the container. Depending on your paint, climate, and how well your container seals, your acrylic paint may remain workable for several days. I have had the paint stay workable for more than a week.
It’s especially handy if you’re a slow painter, like to work on a painting over several sessions, or simply don’t want to throw away unused paint at the end of the day.
Supplies You Will Need
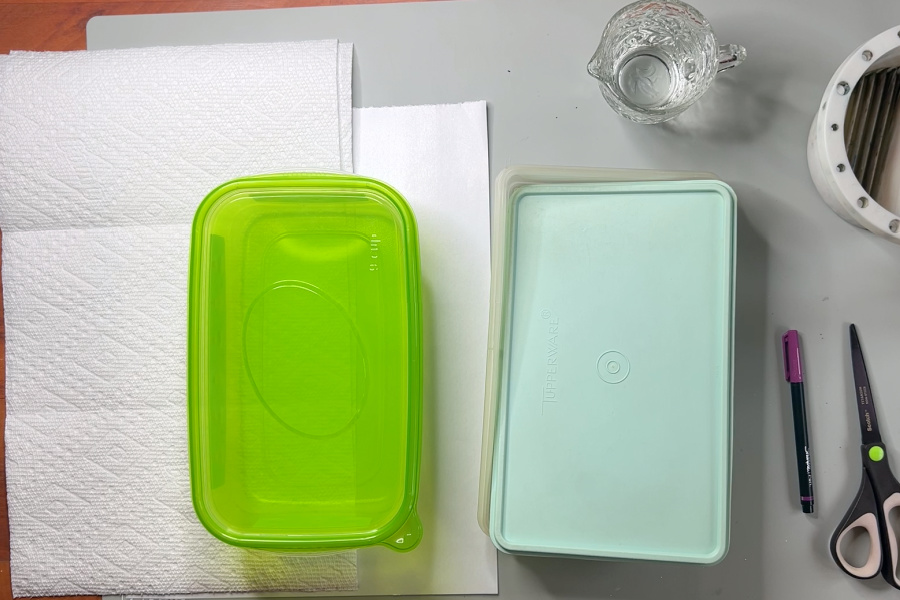
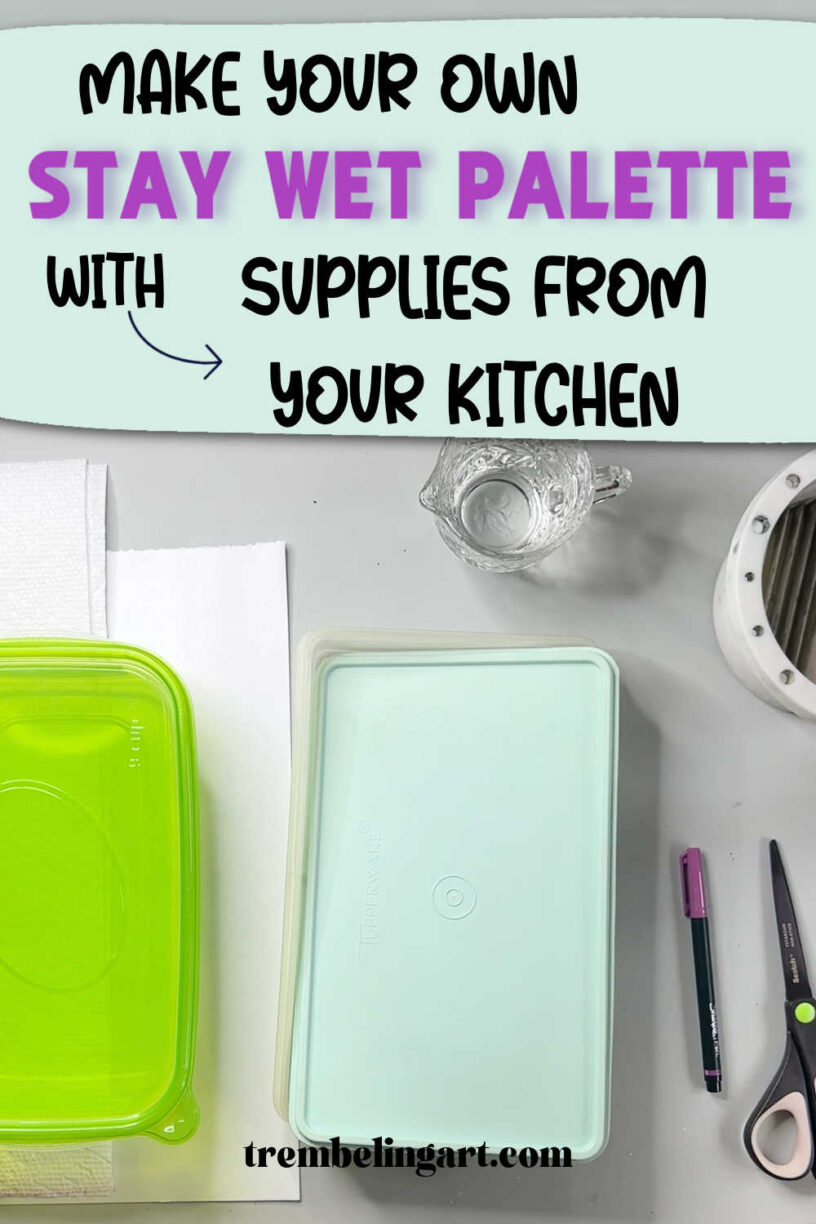
You don’t need anything fancy to make a homemade wet palette. You will need:
- A shallow plastic container with a tight-fitting lid
- Paper towel or kitchen towel
- Water
- Parchment paper or suitable palette paper
- Scissors
- A spray bottle or mister, if you have one
This is also a good opportunity to reuse an old food storage container rather than throwing it away.
Choosing Your Container
Your container can be almost any size, depending on how much paint you normally use.
I have several small wet palettes around my studio as well as larger ones. A small container is perfect when I’m only using a few colours, while a larger container gives me more room for bigger projects.
The container doesn’t need to be very deep. The most important feature is the tight-fitting lid. You want to trap moisture inside when you’re not painting.
How to Make a DIY Wet Palette for Acrylic Paint
Step 1: Cut Your Paper Towel to Size
Start by placing several layers of paper towel in the bottom of your container.
If your paper towels happen to fit your container, this step is very easy. Just tear off a few sheets and place them inside.
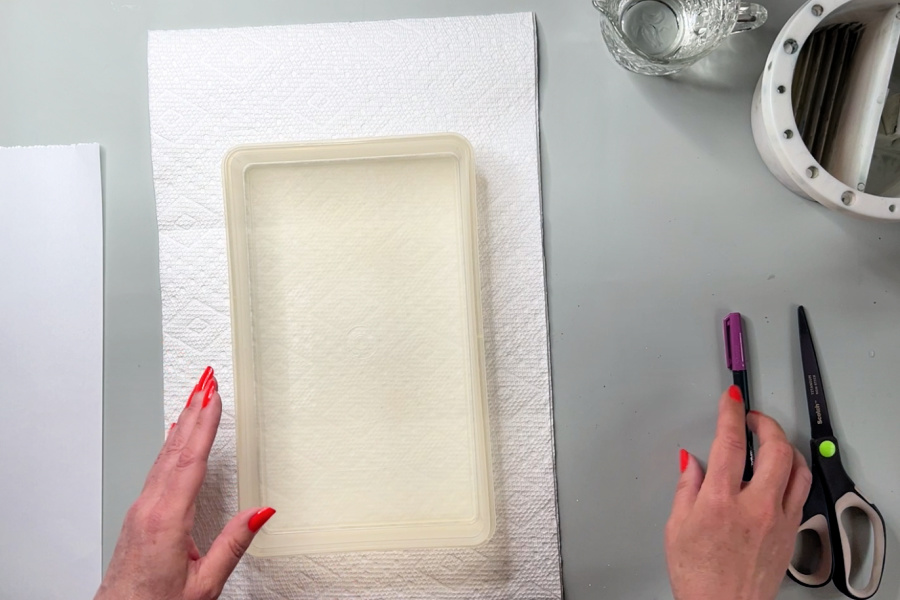
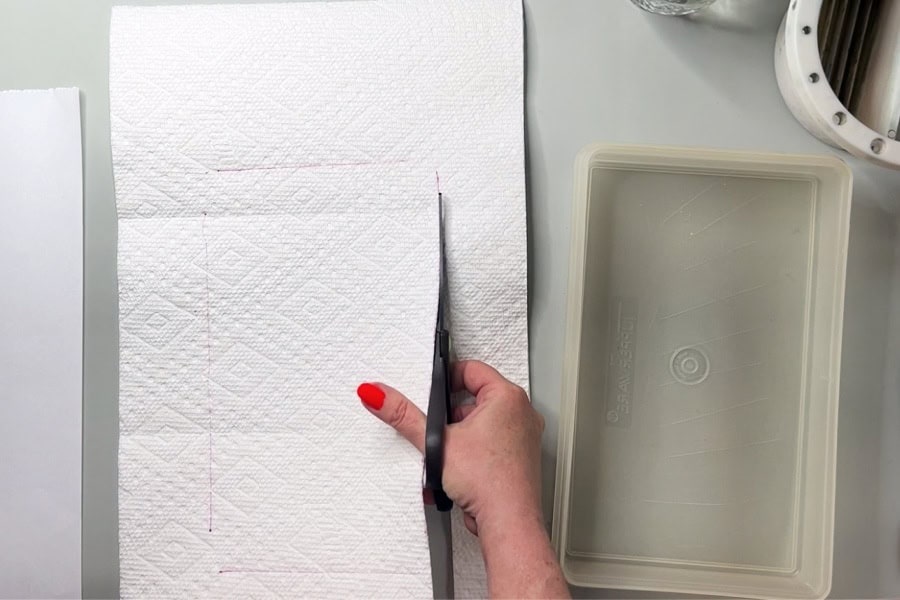
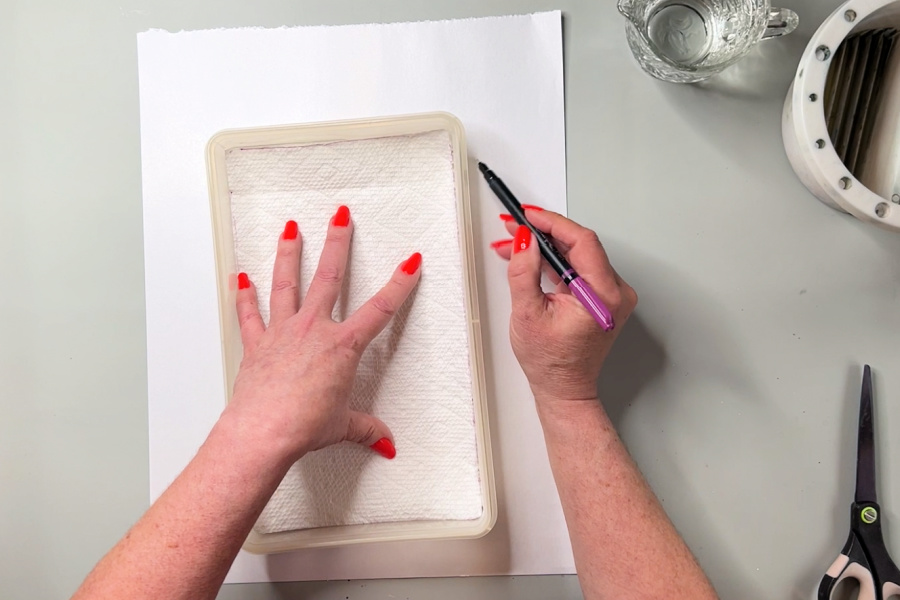
If they don’t fit, use the bottom of your container as a rough template.
Place it over the paper towel and loosely trace around it. Then cut the paper towel to approximately the right size.
Don’t worry about making it perfect. This is an art tool, not an art project. As long as the paper towel fits reasonably well inside the container, it will work.
I generally use between two and four layers, depending on the thickness of the paper towel.
If you live in a particularly hot or dry climate, you may find that a few extra layers help the palette retain moisture longer.
Step 2: Cut Your Palette Surface
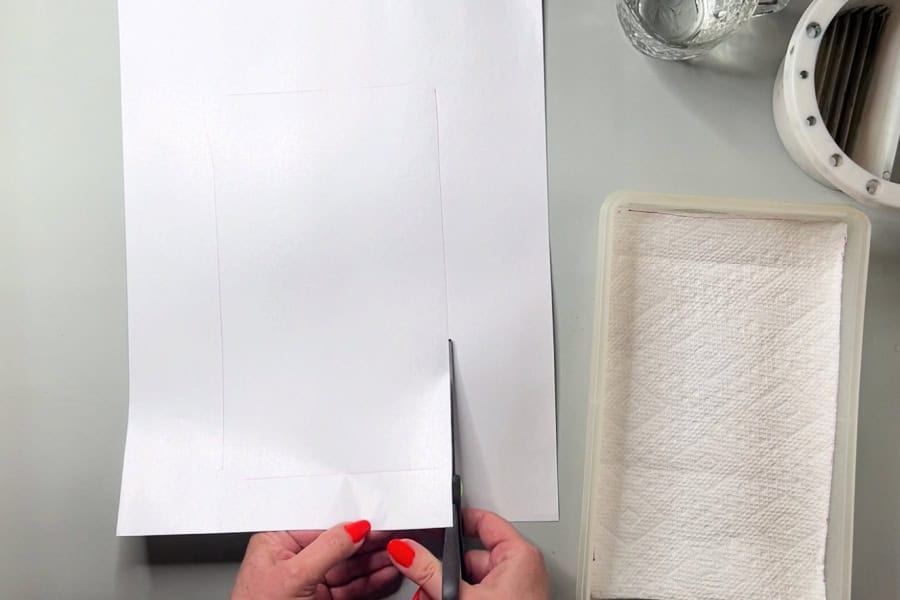
Next, cut a piece of parchment or palette paper so that it fits over the paper towel.
Again, you can use the container as your template and roughly trace its shape before cutting.
The sheet should sit reasonably flat over the damp paper towel.
A note about the top layer: Not all papers behave the same way in a wet palette. Parchment paper or paper specifically designed for palettes is generally the most reliable choice. Avoid highly absorbent papers, which can soak up your paint.
Step 3: Add Water
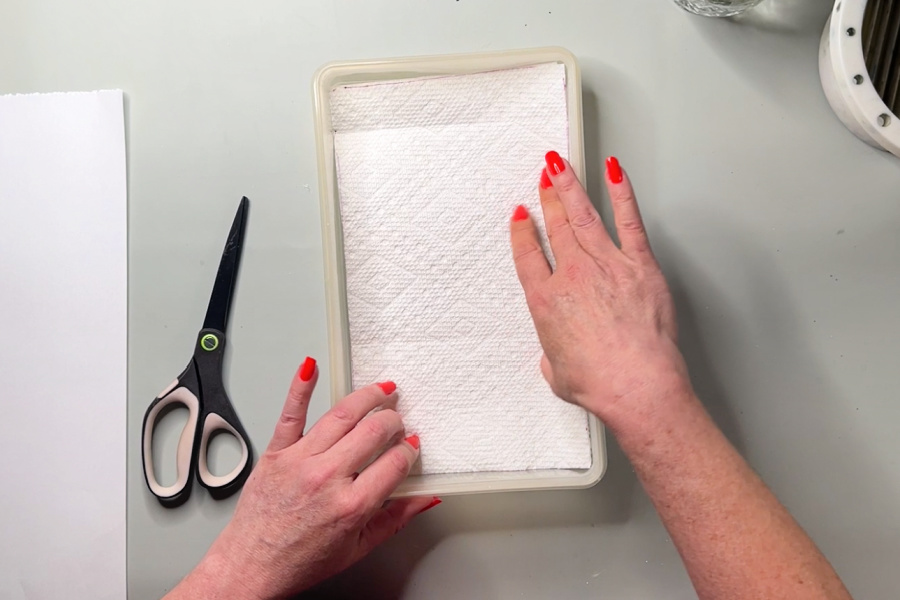
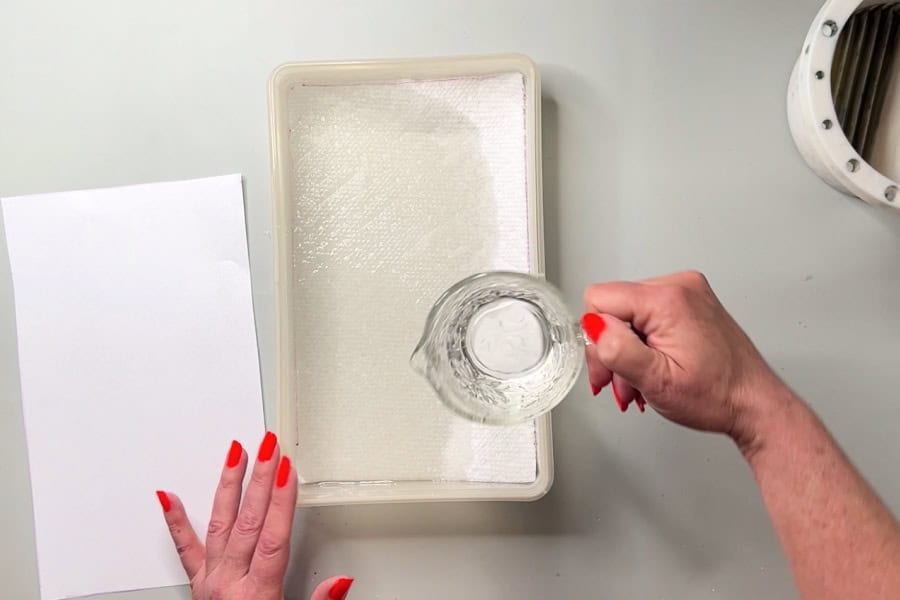
Place the paper towel in the container. Thoroughly wet the layers of paper towel.
You want all of the paper towel to be damp, but you don’t want a pool of water sloshing around in the bottom of the container.
I usually add enough water to completely saturate the paper towel and then carefully drain off the excess.
The goal is a wet paper towel without standing water.

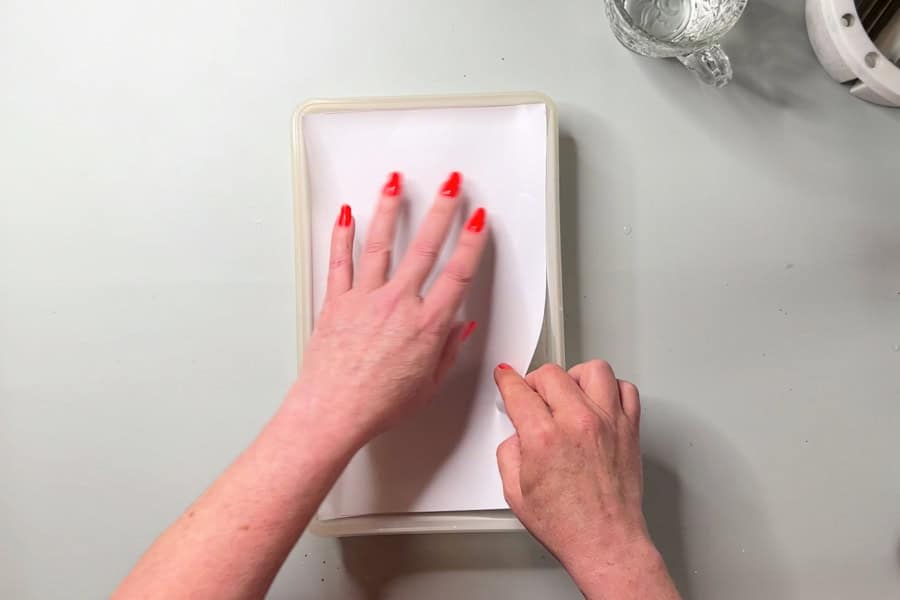
Step 4: Add the Parchment Paper
Lay your cut piece of parchment or palette paper directly over the damp paper towel.
Smooth it down so it sits relatively flat.
I also like to give the surface a very light mist of water with a spray bottle. You don’t need much, just enough to make sure everything is damp.
Your homemade wet palette is now ready for paint.
How to Use Your Wet Palette
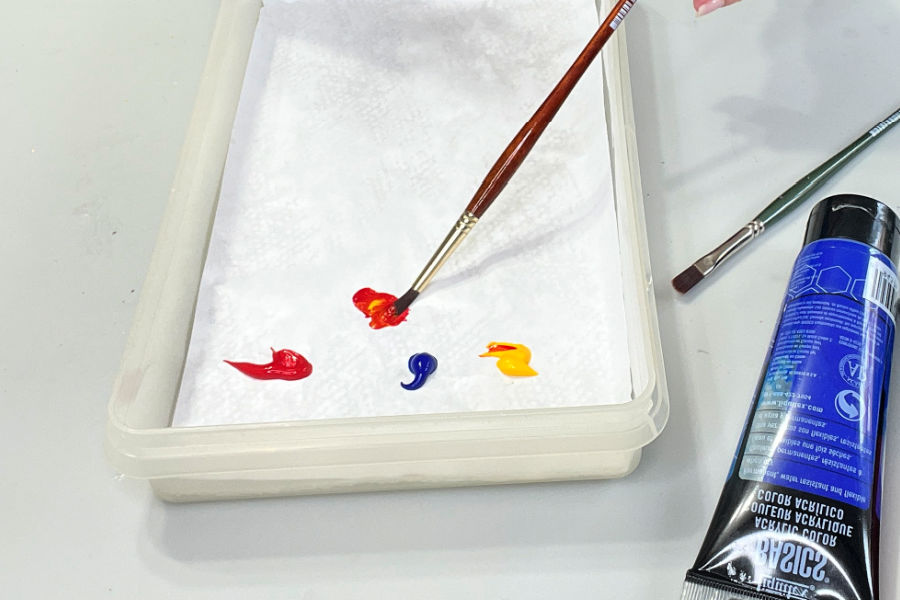
Add your acrylic paint directly to the prepared surface just as you would with a regular palette.
You can mix your colours directly on the palette, or you can use the wet palette primarily to hold your main paint colours and mix smaller amounts somewhere else.
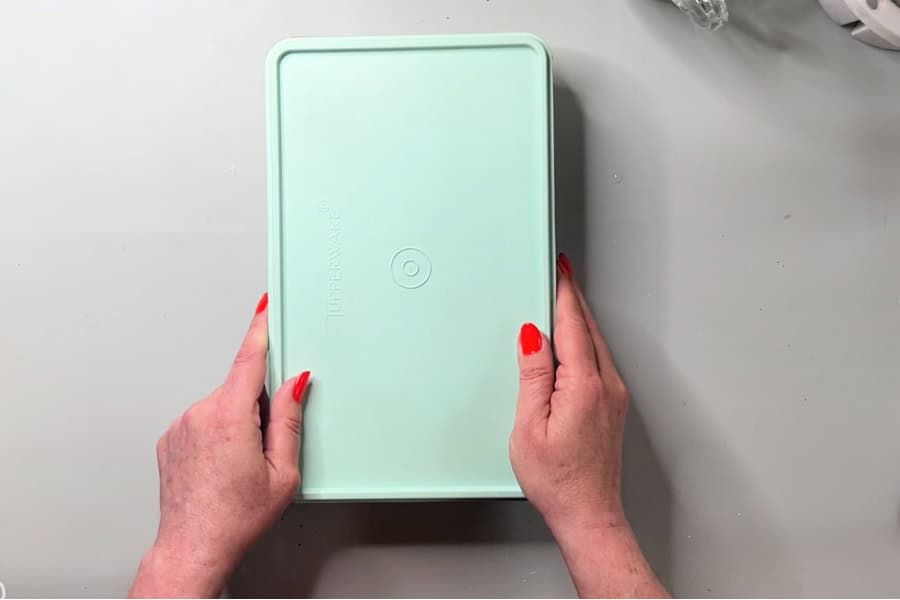
When you finish painting for the day, check that the paper towel underneath is still damp. Give it a light mist of water if necessary, then put the lid on tightly.
The enclosed container creates a humid environment that slows down evaporation and helps keep your acrylic paint wet longer.
When you return for your next painting session, your paint may still be workable instead of having dried into little plastic lumps.
How Long Will Acrylic Paint Stay Wet in a Wet Palette?
There isn’t one exact answer because drying time depends on several factors, including:
- The brand and consistency of your acrylic paint
- How much paint you put on the palette
- The temperature of your room
- Humidity
- How much water is in the palette
- How tightly your container seals
In my experience, a wet palette can keep acrylic paint usable for days and sometimes longer under the right conditions.
Check the palette each time you use it and add a little more water underneath if the paper towel begins to dry out.
Don’t Add Too Much Water
More water isn’t necessarily better.
If your wet palette is excessively wet, water can get into your paint and make it thinner than you intended. You want to create a moist environment, not have your acrylic paint sitting in water.
If you can see water pooling freely around the bottom of the container, drain some of it off.
It may take a little experimentation to find the right amount of moisture for your climate and the type of acrylic paint you use.

Keep Your Wet Palette Clean
Because a wet palette stays damp and is kept in a closed container, don’t leave it indefinitely without checking it.
Replace the paper towel and palette paper regularly and wash the container between uses, particularly if you notice an unpleasant smell, discoloration, or any sign of mould.
I prefer making wet palettes from inexpensive or recycled containers because it’s so easy to empty them, clean them, and start again.
Why Use a Stay-Wet Palette for Acrylic Painting?
For me, one of the biggest advantages is simply wasting less paint.
Acrylic paint can dry surprisingly quickly on a traditional palette. If you’ve squeezed out more paint than you need, much of it can end up being thrown away.
A wet palette gives you more time to use that paint.
It can also make painting more relaxed. You don’t have to feel as though you’re racing against your palette because your paint is drying while you’re working.
This is helpful for beginners who may naturally paint more slowly while learning techniques, mixing colours, and figuring out the next step in a painting.
And, of course, saving paint means saving money. Art supplies aren’t getting any cheaper!
Make Several Wet Palettes
One nice thing about this DIY version is that you aren’t limited to one size.
I keep several different sizes around my studio. You could make:
- A small palette for paintings using only a few colours
- A medium palette for everyday painting
- A larger palette for projects requiring a bigger range of colours
Old plastic containers with good lids are perfect for this.
There’s no reason your homemade wet palette has to look fancy. It just needs to work.
A Simple Way to Keep Acrylic Paint Wet Longer
If fast-drying acrylic paint is frustrating you, try making your own DIY wet palette before spending money on a commercial one.
All you really need is a container with a tight-fitting lid, some paper towel, parchment or suitable palette paper, and water. It takes only a few minutes to put together and can save a surprising amount of paint over time.
It also gives you the freedom to stop painting when you need a break, close the lid, and come back to your colours later.
Sometimes the most useful art tools are also the simplest ones.
If you’d like to see exactly how I put mine together, watch my How to Make a Wet Palette for Acrylic Paint video, where I demonstrate the entire process step by step.
Happy painting!