
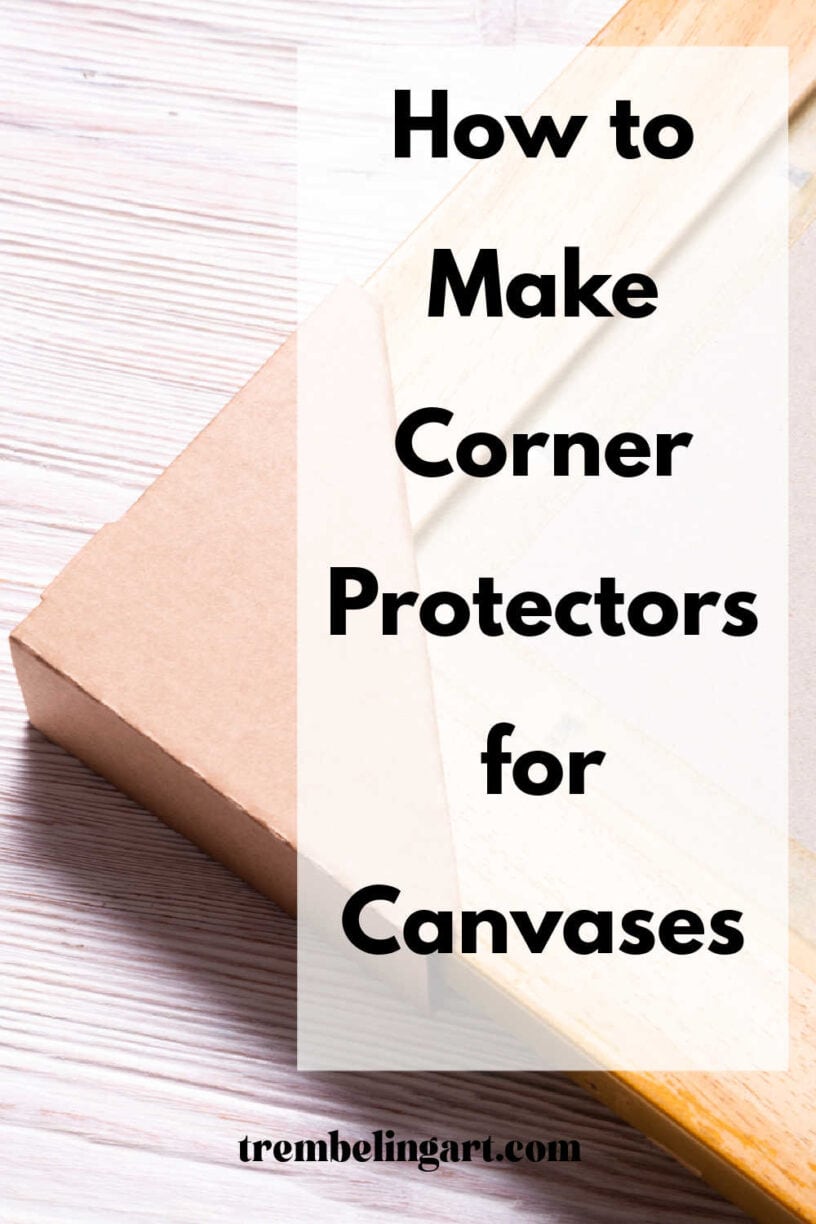
When shipping or storing your artwork, the corners of your canvases are often the first area at risk of damage. Protecting these corners is important to maintaining the integrity of your work, whether it’s in transit or simply being stored. In this post, I will show you a simple and cost-effective method for making cardboard protective corners for your canvases using basic materials.
I have included a downloadable template at the end that will help you make your own cardboard corner protectors.
If you need more information about storing and shipping your artwork, I have a post about properly packaging canvas or paper artwork for shipping and storage.
Materials You Will Need:
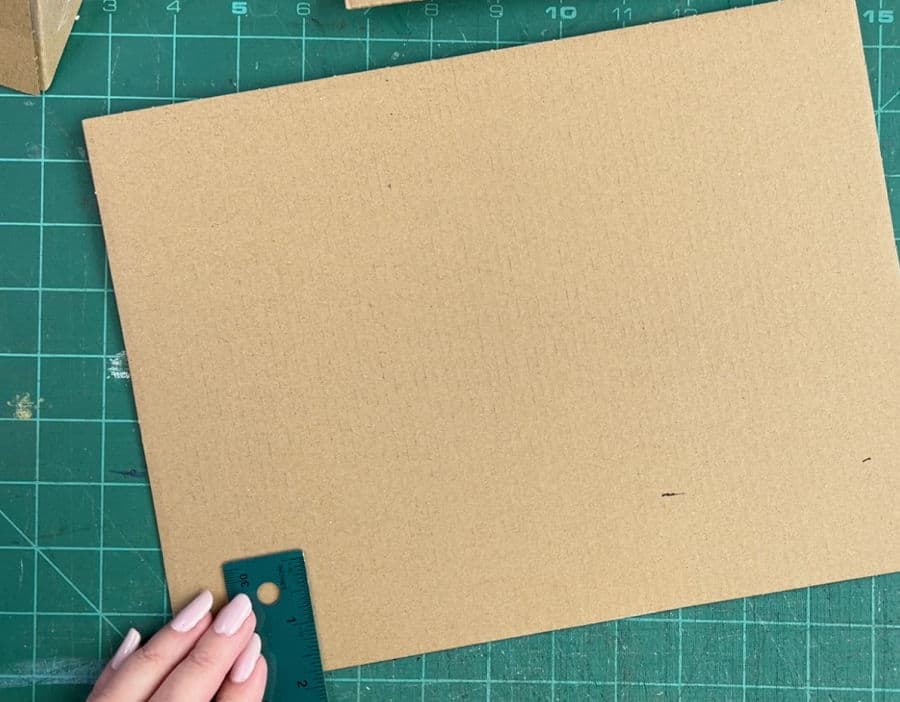
Cardboard (old Amazon boxes work great)
Ruler or measuring tape
Pencil (or pen for visibility)
Craft knife or sharp scissors
Packing tape
Butter knife or other scoring tool
This post may contain affiliate links. If you click a link and buy, I may receive a small commission. Please see my full privacy policy for details.
Step-by-Step Instructions:
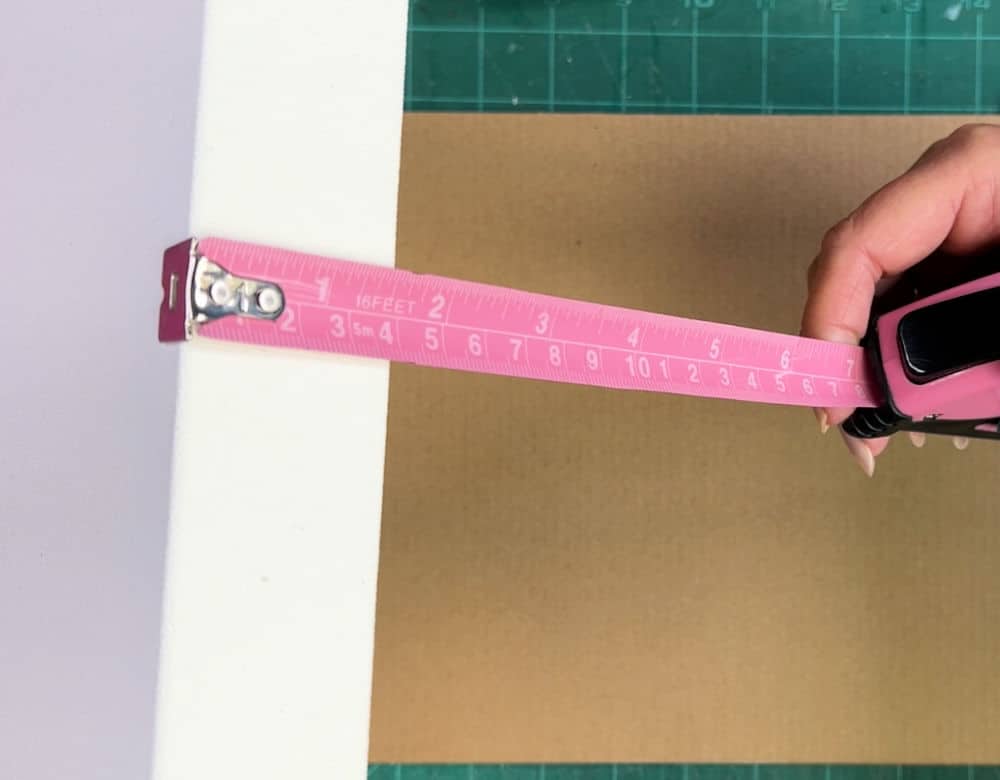
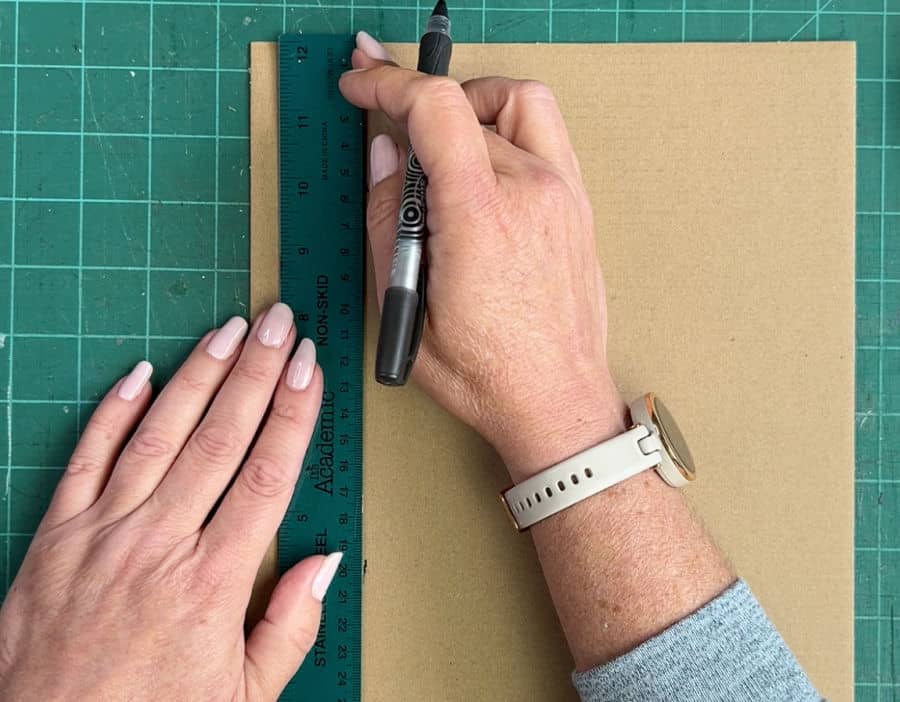
Step 1: Measure Your Canvas Depth
First, you’ll need to determine the depth of your canvas. This is the thickness of the edge, which can vary based on the type of canvas you’re using. For example, if your canvas measures 1.75 inches deep, this will determine the size of the corner protector’s pocket.
Most canvases are between 0.75 and 1.75 inches deep or larger, so measure carefully to ensure a snug fit. Once you have the depth, write it down—you’ll need this for the next steps.
Step 2:
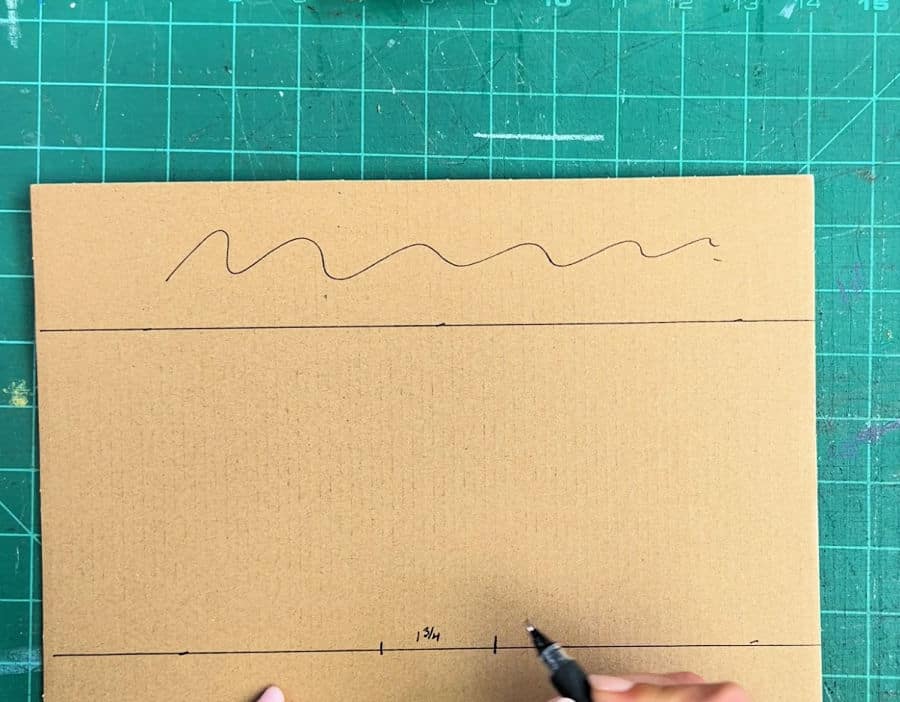
Take a piece of cardboard and measure up 1.75 inches (or whatever your canvas depth is) from the bottom edge. This will form the bottom pocket of the corner. Draw a line across the cardboard at this measurement.
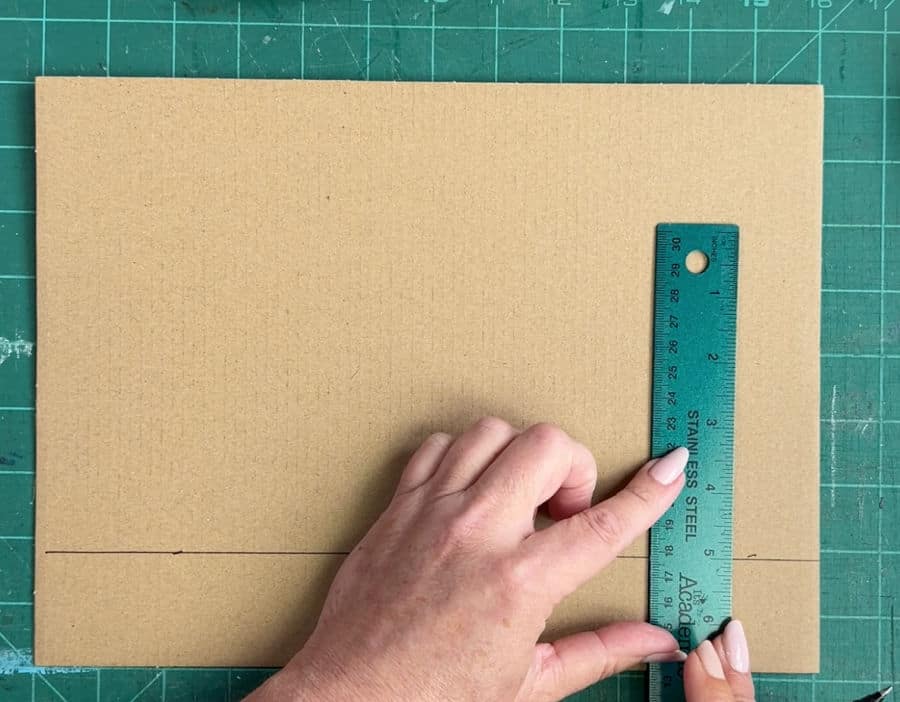
Step 3:
Now, measure up an additional 5 inches from this line. This forms the “flap” that will fold over your canvas corner. Mark this line as well.
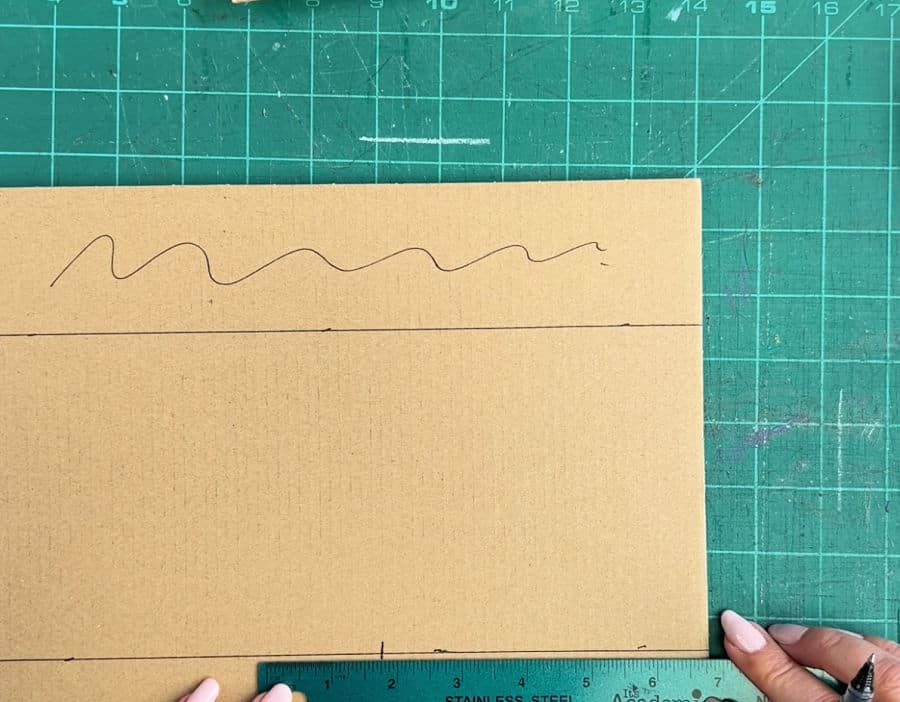
If you are finding these instructions a little hard to follow, I also have a YouTube video that walks you through this step-by-step. Just click the image below to go to the video.

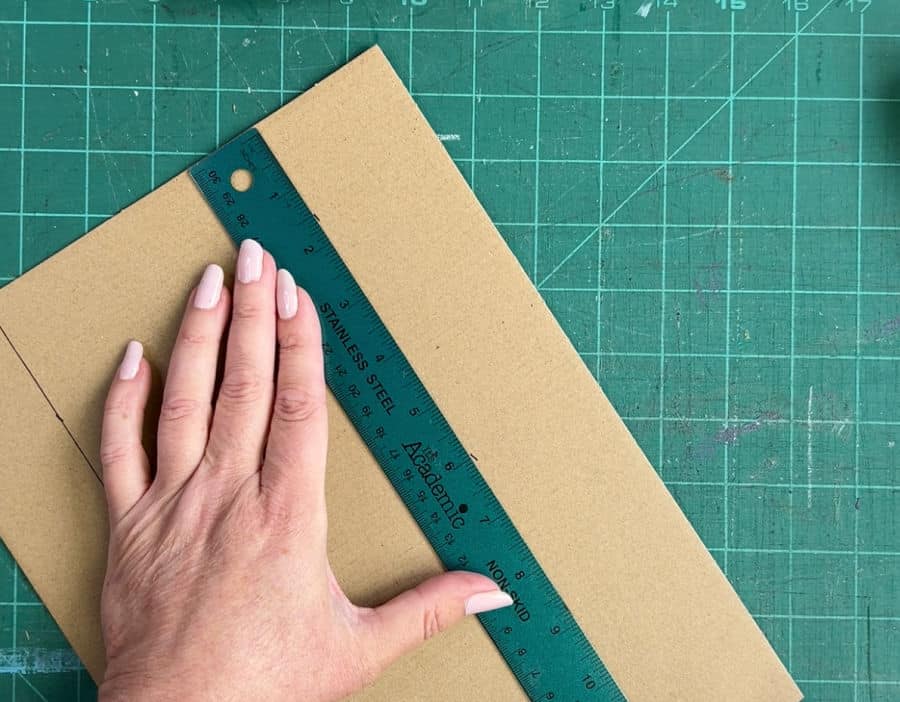
Step 4:
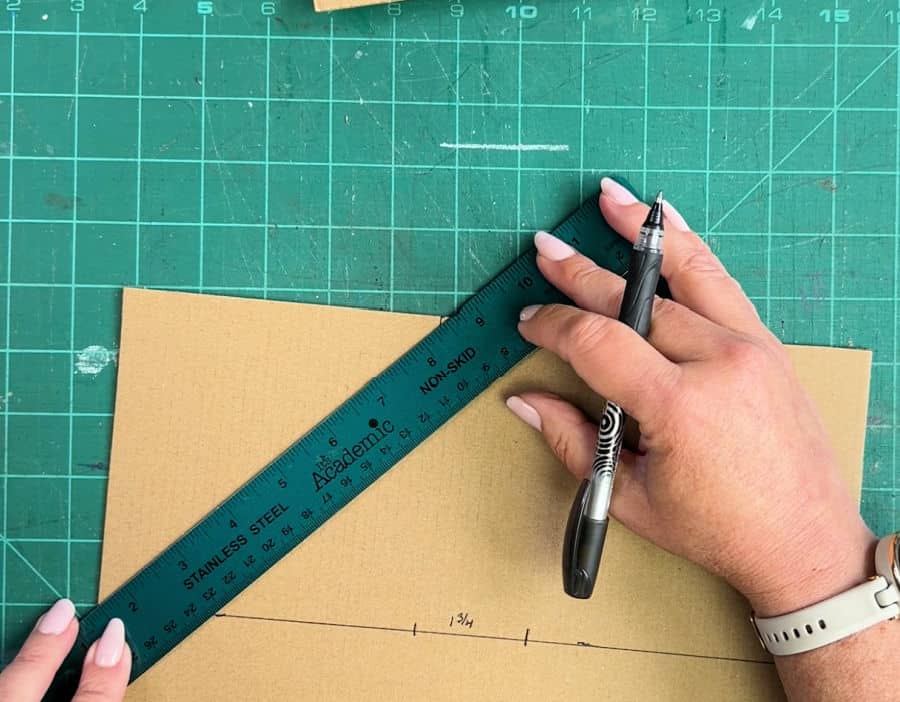
Using your ruler, measure 5 inches in from one edge marking it on the line on the bottom. Then, from this mark, measure 1.75 inches (or your canvas depth). Make another mark 5 inches from the 1.75 mark. (see picture)
Do the same at the top line of the piece, marking 5 inches, 1.75, and 5 inches.

Step 5:
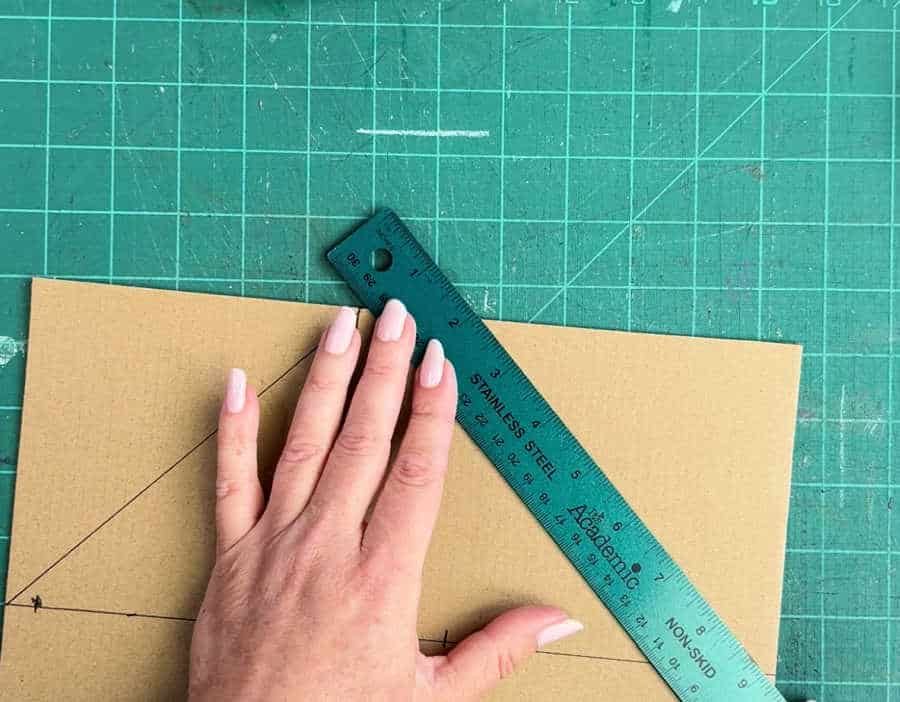
Next, draw diagonal lines from the top line at the 1.75 mark to the bottom line at the outer edge, forming a triangle. Do this on the other side also. (see picture)
Using your craft knife, cut off these triangles.
Step 6:
Draw a dotted line from the top line to the bottom line on both of the 1.75 marks.
These will serve as the fold lines.
Score along these lines using a butter knife or the back edge of your craft knife.
Also score along the first solid line you made at the bottom.
Make sure you don’t cut through these lines—just score them. Scoring means lightly cutting the surface of the cardboard to make it easier to fold.


Step 7:
Draw a solid line from the bottom line to the bottom at both 1.75 marks. Using your craft knife, cut these lines, being careful not to cut into the dotted line.

Step 8:
Now that you’ve scored the fold lines, cut off any excess cardboard from the outer edges. Be sure to leave the center intact—this is where you’ll fold the cardboard to form the protective corners.
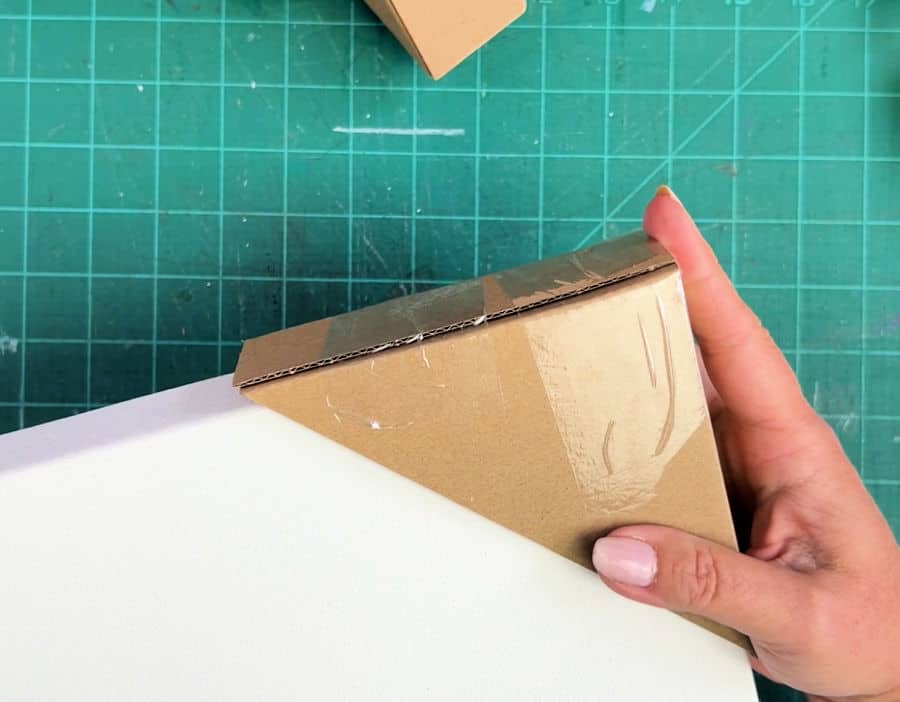
Step 9: Assemble the Corner
Once your cuts are made, fold the cardboard along the scored lines. Fold up the center flap and then fold in the sides. The two sides should fold up and over to create a triangular corner shape that fits snugly over the canvas edge.


To secure the protector, use packing tape along the seams. Be generous with the tape to ensure the corner holds its shape and stays in place during shipping or storage.
Repeat these steps to create multiple corner protectors.

For added protection, especially for archival-quality work, wrap your canvas in glassine paper before placing the protective corners on it. Glassine is an acid-free material that prevents dust, dirt, and moisture from coming into contact with your artwork.
Now that your corner protectors are assembled place them on each corner of the canvas. If they’re a little loose, you can tape them down for added security. Additionally, when packing paintings, wrap your artwork in bubble wrap for additional protection. Be sure to place the flat side of the bubble wrap against the canvas and the bubbles outward. This helps avoid any unwanted impressions left on the surface of your painting.
These cardboard packing corners can also protect framed artwork or pictures. Measure the depth of the frame and follow the instructions above. Wrap the frame in bubble wrap or other protective material and fit the cardboard protectors to the corners of the frames.

Cardboard corners are an affordable and effective way to protect your artwork from damage. While it may seem complicated at first, practice makes perfect, and cardboard is a readily available, inexpensive material. Just remember that cardboard is not archival, so if you’re storing artwork for long periods, make sure to protect it with glassine paper first.
By following these simple steps, you’ll have durable protective corners that ensure your artwork arrives at its destination or remains safe in storage without damaging the edges.
Feel free to download the template below to make your own cardboard shipping corners. This template is not true to size. Use the measurements to measure your own cardboard. The 2-inch measurements on this template down the center and at the bottom are the only ones you need to change to make the corner protectors fit your canvas. Adjust the measurements based on the depth of your canvas.
Cardboard Corner Protector Template

If you have questions, you can leave them in the comments below. You can also join our free Facebook group, Trembeling Art Creative Corner, where you can ask questions, post your work and get to know some fantastic artists from all genres and skill levels. 😊
Thank you for reading, and I hope this guide helps you keep your artwork safe and secure.